Your First-Timer's Guide to Roof Replacement: What to Expect from Start to Finish
Your Complete Guide to Roof Replacement for First Timers
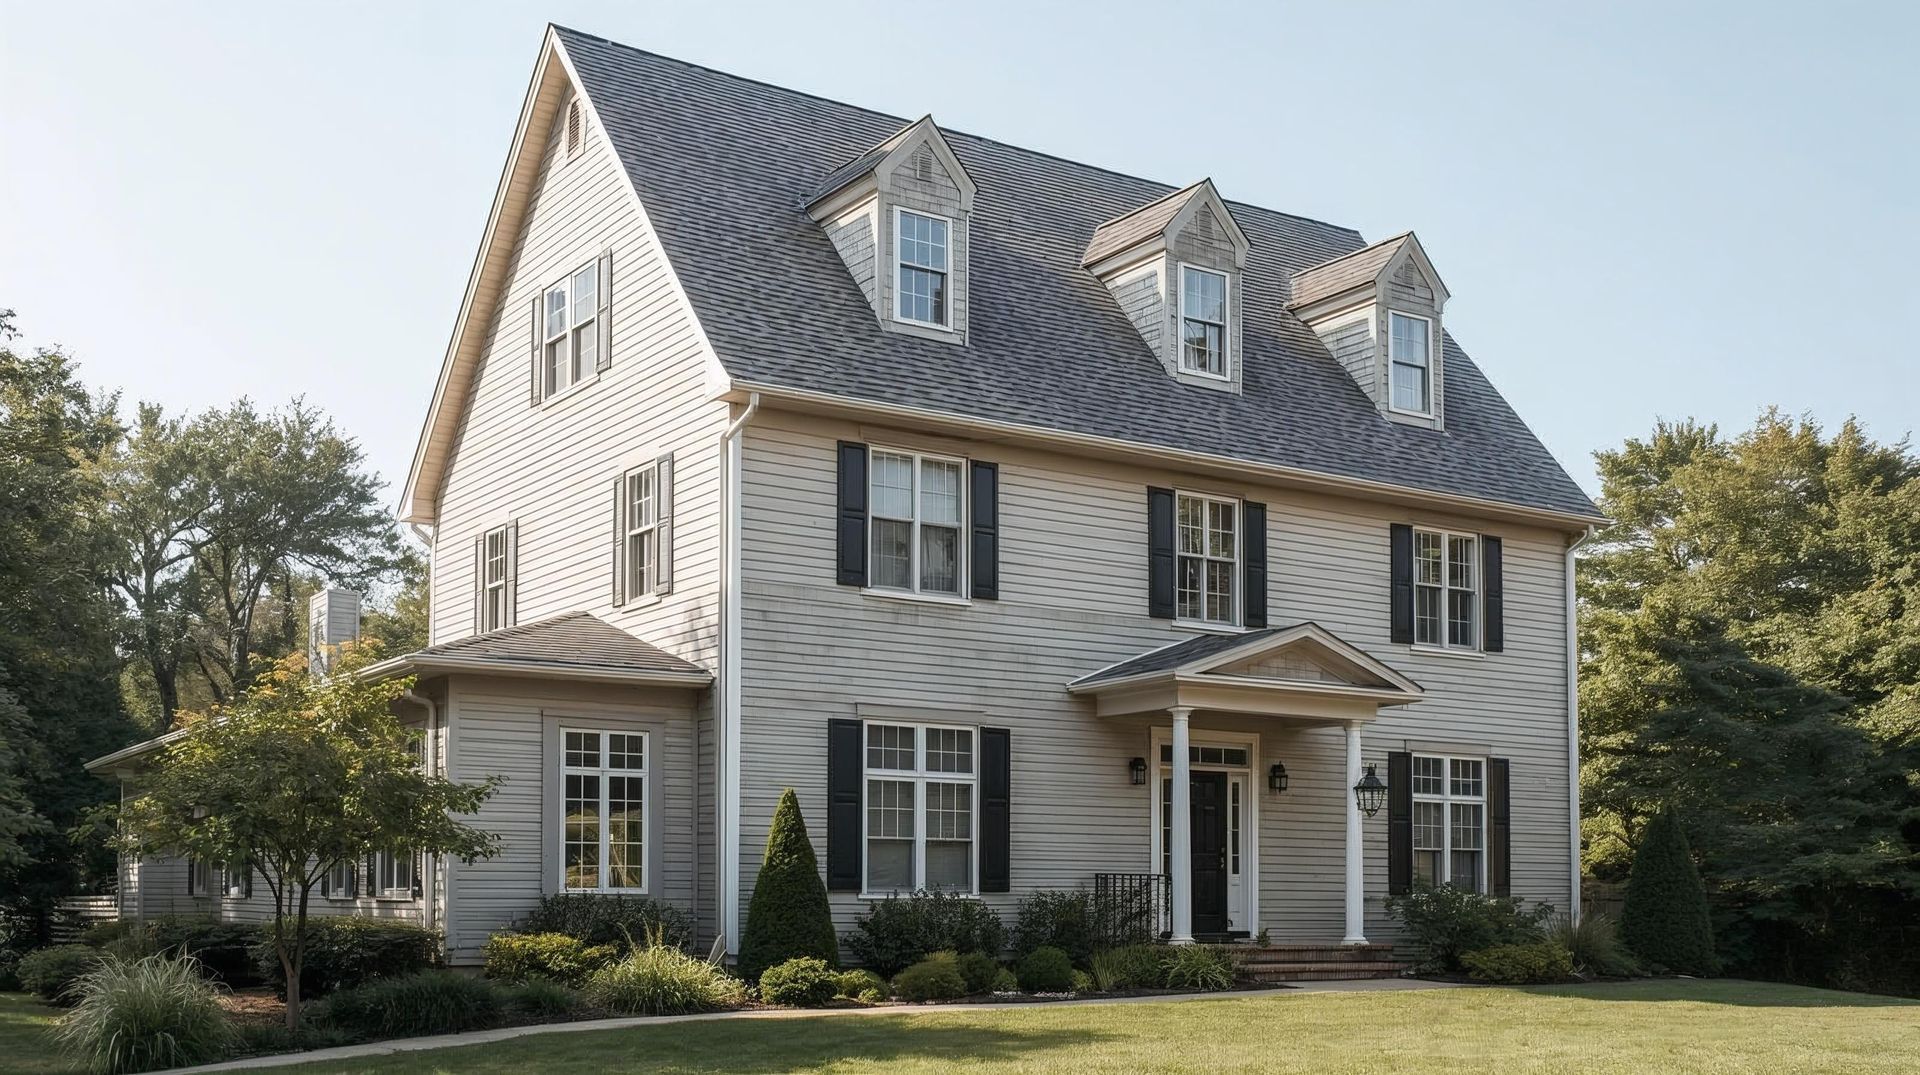
Modern roof replacement serves as your home's primary defense system against nature's elements while simultaneously improving energy efficiency by up to 20-30% through advanced roofing materials and proper ventilation systems.
The transformative impact extends beyond mere protection; homeowners can expect to recoup approximately 88.5% of their investment through increased property values, with new roof installation adding an average of $17,800 to home resale value according to industry cost-benefit analyses.
Key Takeaways
- Preparation is crucial: Expect noise, dust, and temporary disruption, but planning makes the process smoother.
- The project follows clear stages: From removing old shingles to inspections and final cleanup, each step has its role.
- Material choices matter: The type of roofing you select affects durability, appearance, and overall cost.
- Professional communication is key: Stay in touch with your contractor to track progress, resolve issues, and ensure quality work.
Get an instant, accurate estimate for your roofing project with our advanced Roof Replacement Cost Calculator.
Understanding the Complete Roof Replacement Process
The roof replacement process begins long before the first old shingles are removed from your old roof.
Modern roof replacement involves sophisticated planning, material selection, and execution that transforms your home's protection system while enhancing curb appeal and energy efficiency.
Professional roof replacement typically follows an 8-step methodology that experienced roofing contractors use to ensure quality installation and customer satisfaction.
Each phase of the roof installation process builds upon the previous step, creating a comprehensive roof system designed to last 20-50 years, depending on the roofing materials selected.
Phase 1: Initial Planning and Material Selection
Successful roof replacement starts with informed decision-making about roofing materials and budget planning, establishing the foundation for a project that will protect your home for decades while enhancing property value and energy efficiency through strategic material choices.
Choosing Your Roofing Materials
Roofing material selection significantly impacts both roof replacement costs and long-term performance. The most popular options include:
1. Asphalt Shingles (Most Common Choice)
Standard asphalt shingles cost $3-7 per square foot installed, offering excellent value and 15–30 years' warranties. Architectural shingles provide enhanced durability and aesthetic appeal compared to basic 3-tab shingles, featuring dimensional designs that mimic premium materials at moderate costs.
2. Metal Roofing Systems
Metal roofing costs $8-16 per square foot but offers 40-70 years of lifespan with superior weather resistance. Modern metal systems include integrated ventilation and energy efficiency features that reduce cooling costs by 10-25%.
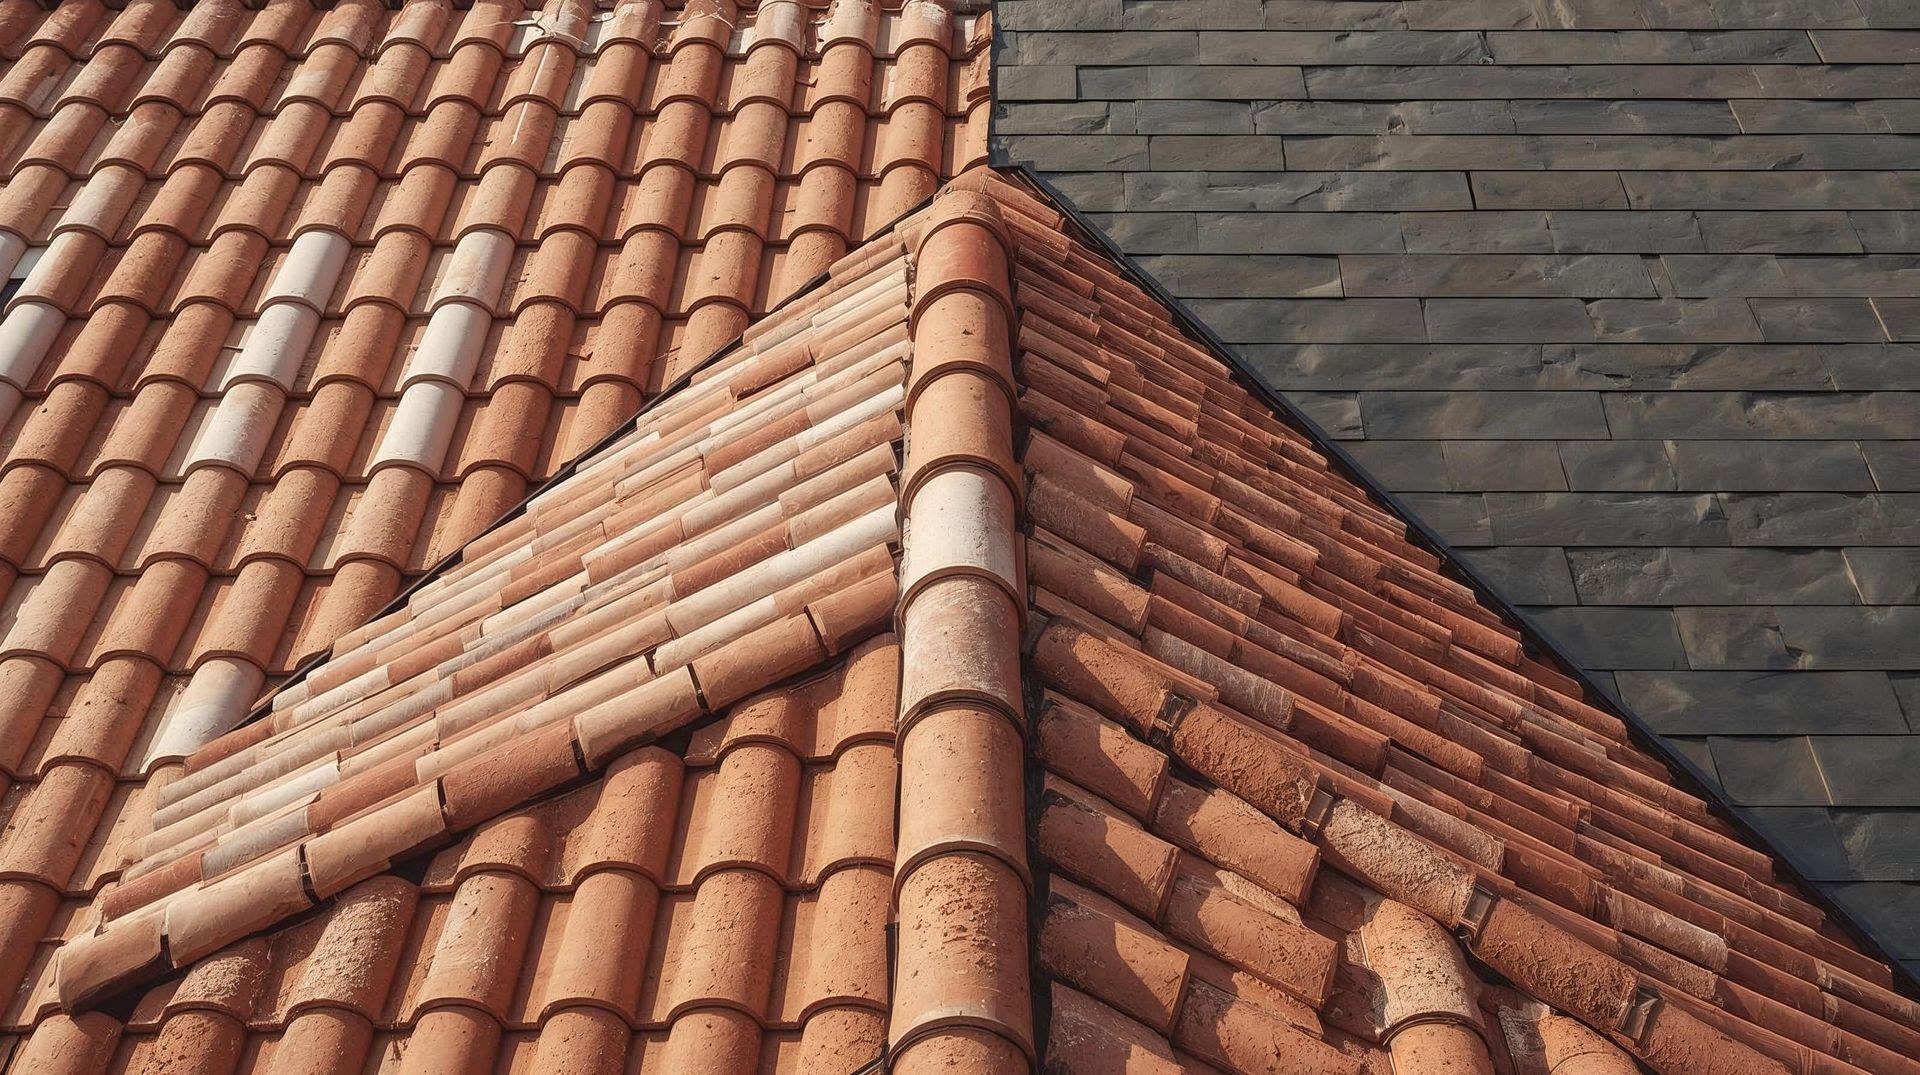
3. Premium Options
Wood shakes ($8-12 per square foot) and clay tiles ($10-18 per square foot) provide distinctive appearances but require specialized installation techniques and ongoing maintenance.
Understanding Roof Replacement Costs
Roof replacement costs vary significantly based on material selection, roof complexity, and regional labor rates:
| Material Type | Cost Per Square Foot | Expected Lifespan | Warranty Coverage |
|---|---|---|---|
| Asphalt Shingles | $3-7 | 15-30 years | 15-50 years |
| Architectural Shingles | $4-8 | 25-40 years | 25-50 years |
| Metal Roofing | $8-16 | 40-70 years | 30-50 years |
| Wood Shakes | $8-12 | 20-40 years | 10-30 years |
| Clay Tiles | $10-18 | 50-100 years | 30-50 years |
Phase 2: Contractor Selection and Preparation
Choosing the right roofing contractor represents one of the most critical decisions in your roofing project, requiring thorough research, credential verification, and careful evaluation of experience, insurance coverage, and local reputation to ensure quality workmanship and project success.
Finding the Right Roofing Contractor
Selecting a qualified roofing contractor requires thorough research and verification. Licensed contractors should provide:
1. Essential Credentials
- Active state and local licensing
- Current liability and workers' compensation insurance
- Better Business Bureau accreditation with A+ ratings
- Manufacturer certifications for warranty coverage
- Local references from recent roofing projects
2. Getting a Free Estimate:
Reputable contractors provide detailed free estimates that include material specifications, labor costs, timeline expectations, and warranty information. Compare at least three estimates to understand market pricing and identify potential red flags.
Pre-Installation Site Preparation
Professional roofing companies implement comprehensive site preparation protocols:
- Property Protection Measures
- Tarps covering landscaping, vehicles, and outdoor furniture
- Magnetic strips collect stray nails and metal debris.
- Dumpster placement minimizes property disruption.
- Safety equipment setup, including barriers and warning signs
Also Read: Roof Replacement Estimate vs. Final Invoice: What Changes?
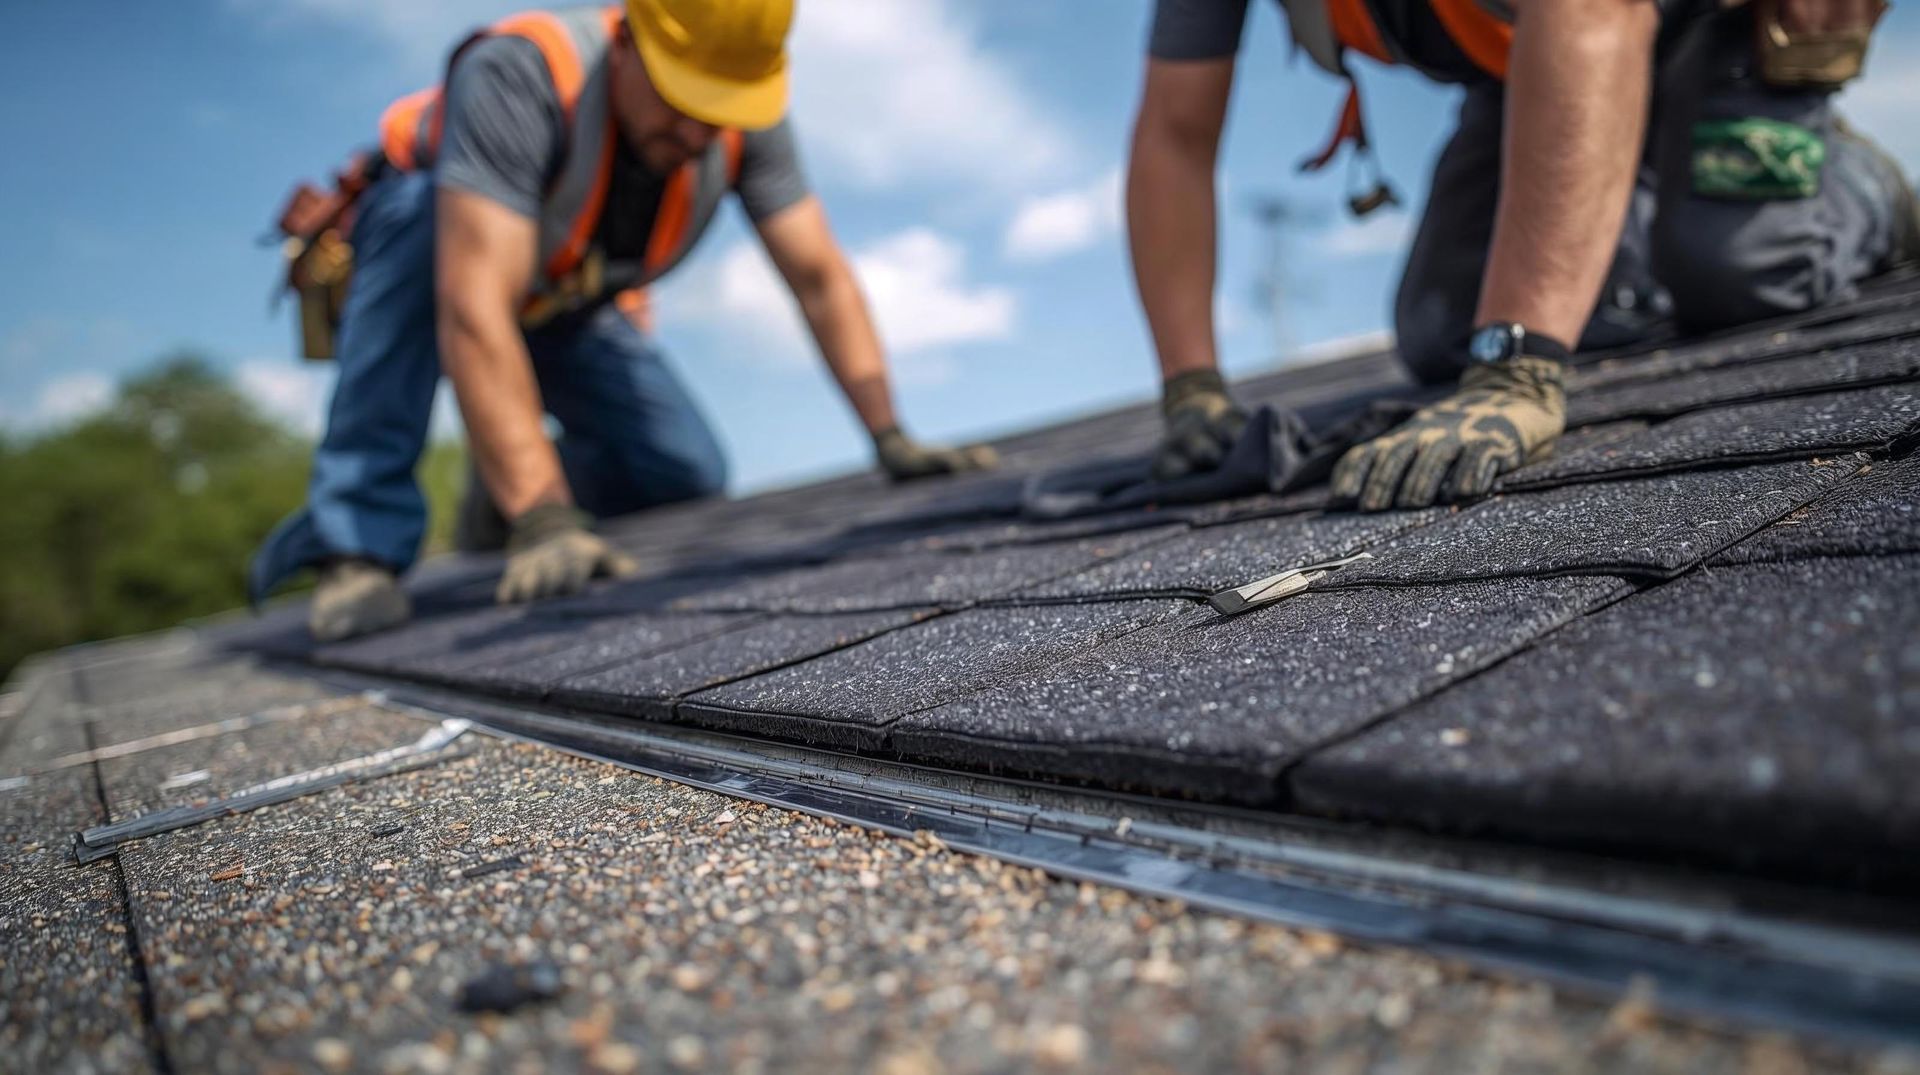
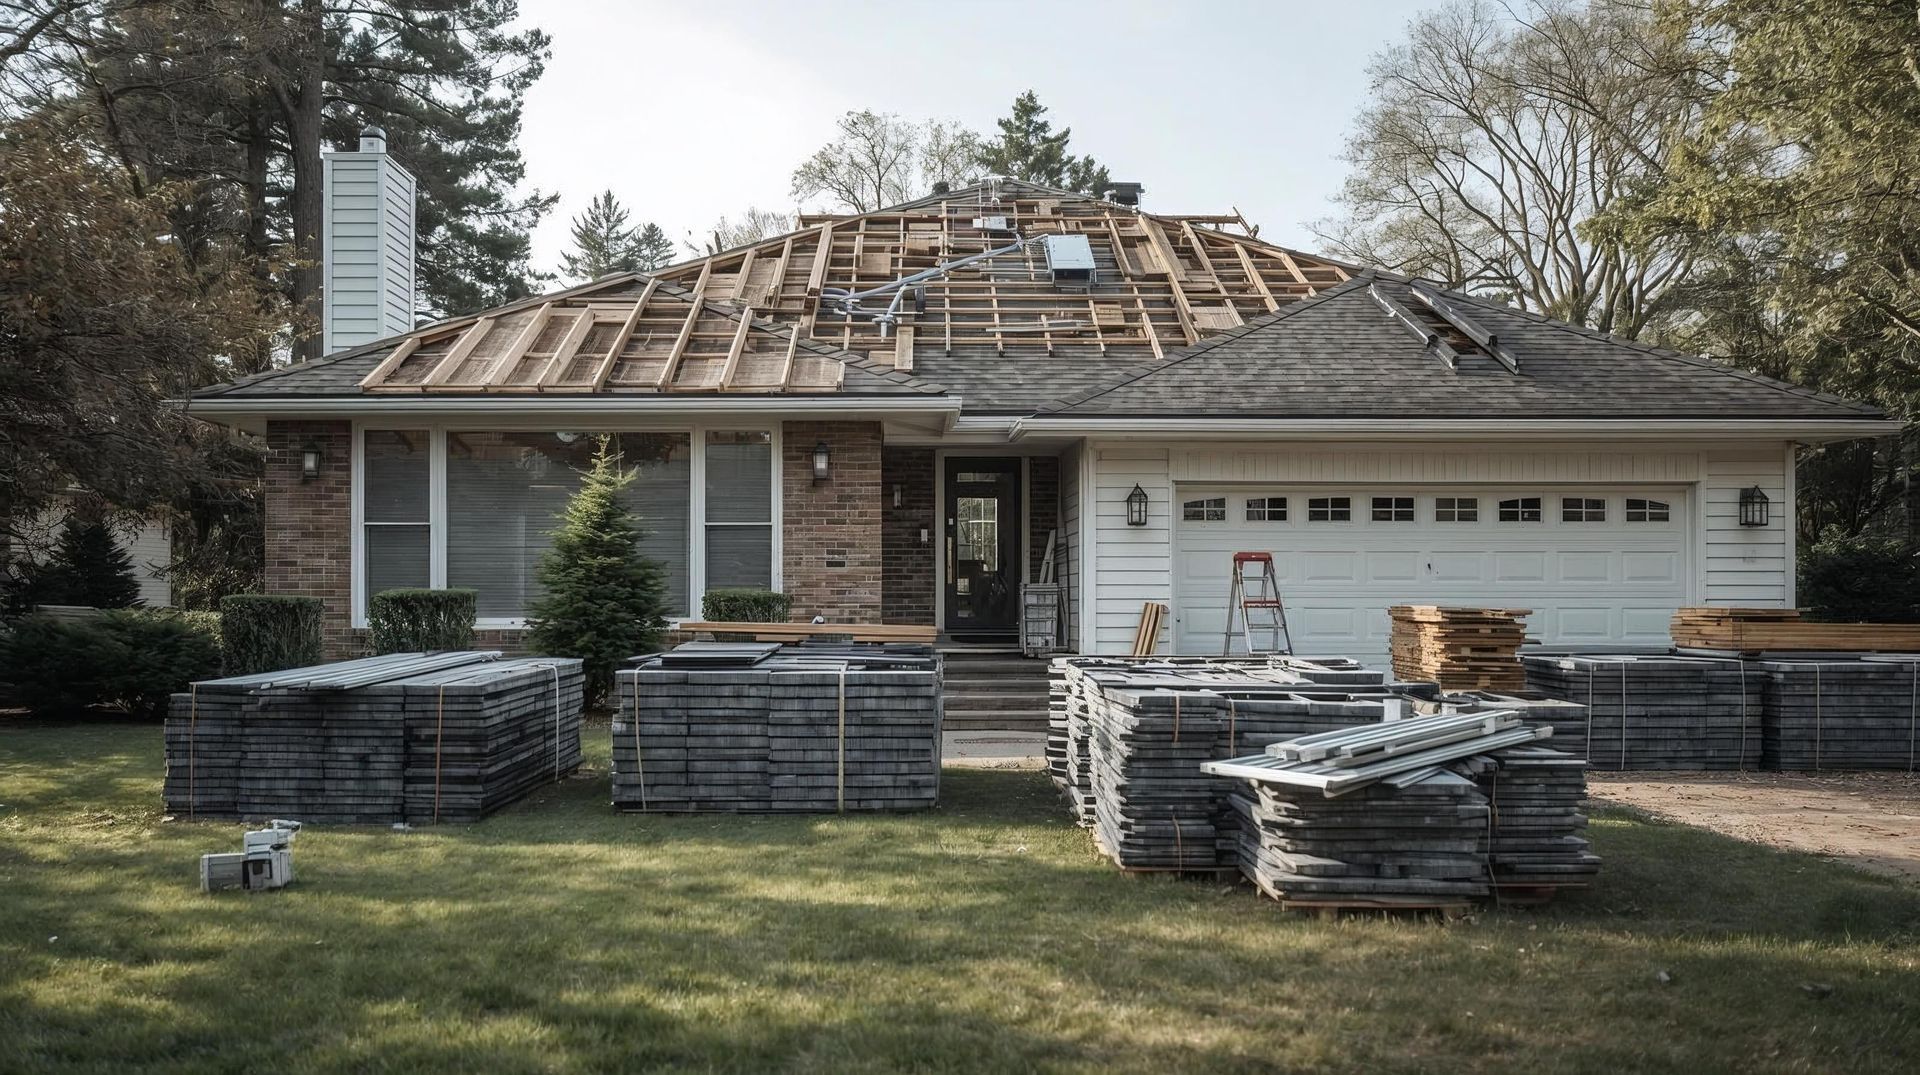
Phase 3: Old Roof Removal and Tear Off
The tear-off phase marks the beginning of active construction work, involving systematic removal of existing shingles, old materials, and damaged components to create a clean foundation for new roof installation while protecting your property and ensuring worker safety.
The Tear-Off Process Explained
Roof replacement begins with the complete tear-off of existing shingles and old materials.
Professional crews use specialized tools, including pry bars, roofing shovels, and circular saws, for efficient removal while protecting underlying structures.
Step-by-Step Tear-Off Methodology:
1. Shingle Removal
Starting at the roof's peak, crews systematically remove old shingles, working downward to prevent debris accumulation. Loose nails and fasteners are extracted using pneumatic tools, leaving clean surfaces for new roof installation.
2. Underlayment and Flashing Removal
Old materials, including felt paper, synthetic underlayment, and metal flashing, are carefully removed without damaging the roof decking. Stray nails are collected using magnetic rollers to ensure safe working conditions.
3. Debris Management
Professional tear-off includes comprehensive debris collection and disposal. Other debris, including broken shingles, nails, and old materials, is contained in protective tarps before transfer to disposal containers.
Roof Decking Inspection and Repair
Once old shingles are removed, the roof decking (typically plywood sheathing or oriented strand board) undergoes a thorough inspection for structural integrity.
Common Roof Decking Issues:
- Water damage from previous leaks
- Rot or mold growth in humid climates.
- Structural sagging requiring reinforcement
- Loose nails or fastener failure
- Plywood sheathing delamination or warping.
Damaged sections are replaced with new materials meeting current building codes.
Modern roof decking often includes oriented strand board (OSB) or exterior-grade plywood with improved moisture resistance.
Phase 4: Installing Underlayment and Protective Barriers
Installing underlayment creates your roof system's critical moisture protection layer, establishing a comprehensive water-resistant barrier that works in conjunction with drip edge, flashing, and ventilation components to prevent water damage and extend the new roof's lifespan.
Installing Underlayment for Moisture Protection
Installing underlayment creates the primary water-resistant barrier protecting your roof system. Modern synthetic underlayment offers superior performance compared to traditional felt paper.
1. Underlayment Installation Process:
- Metal drip edge installation along eaves and rakes
- Synthetic underlayment application starting at the eaves
- Proper overlap ensures a waterproof seal
- Integration with ventilation systems and roof vents
2. Types of Underlayment Systems:
| Underlayment Type | Cost Per Square | Benefits | Applications |
|---|---|---|---|
| Felt Paper | $0.50-1.00 | Traditional, economical | Basic applications |
| Synthetic Underlayment | $1.00-2.50 | Superior durability | Premium installations |
| Ice & Water Shield | $2.00-4.00 | Maximum protection | Complex roofs, valleys |
Drip Edge and Flashing Installation
Metal drip edge installation provides critical water management, directing moisture away from the roof decking and fascia boards.
Install flashing around penetrations, valleys, and areas where two roof planes meet to ensure complete waterproof seals.
Flashing Components:
- Metal flashing around chimneys and skylights
- Step flashing along walls and dormers
- Valley flashing where roof planes meet
- Vent pipe flashing around plumbing penetrations
Also Read: What’s the Cheapest Way to Replace a Roof?
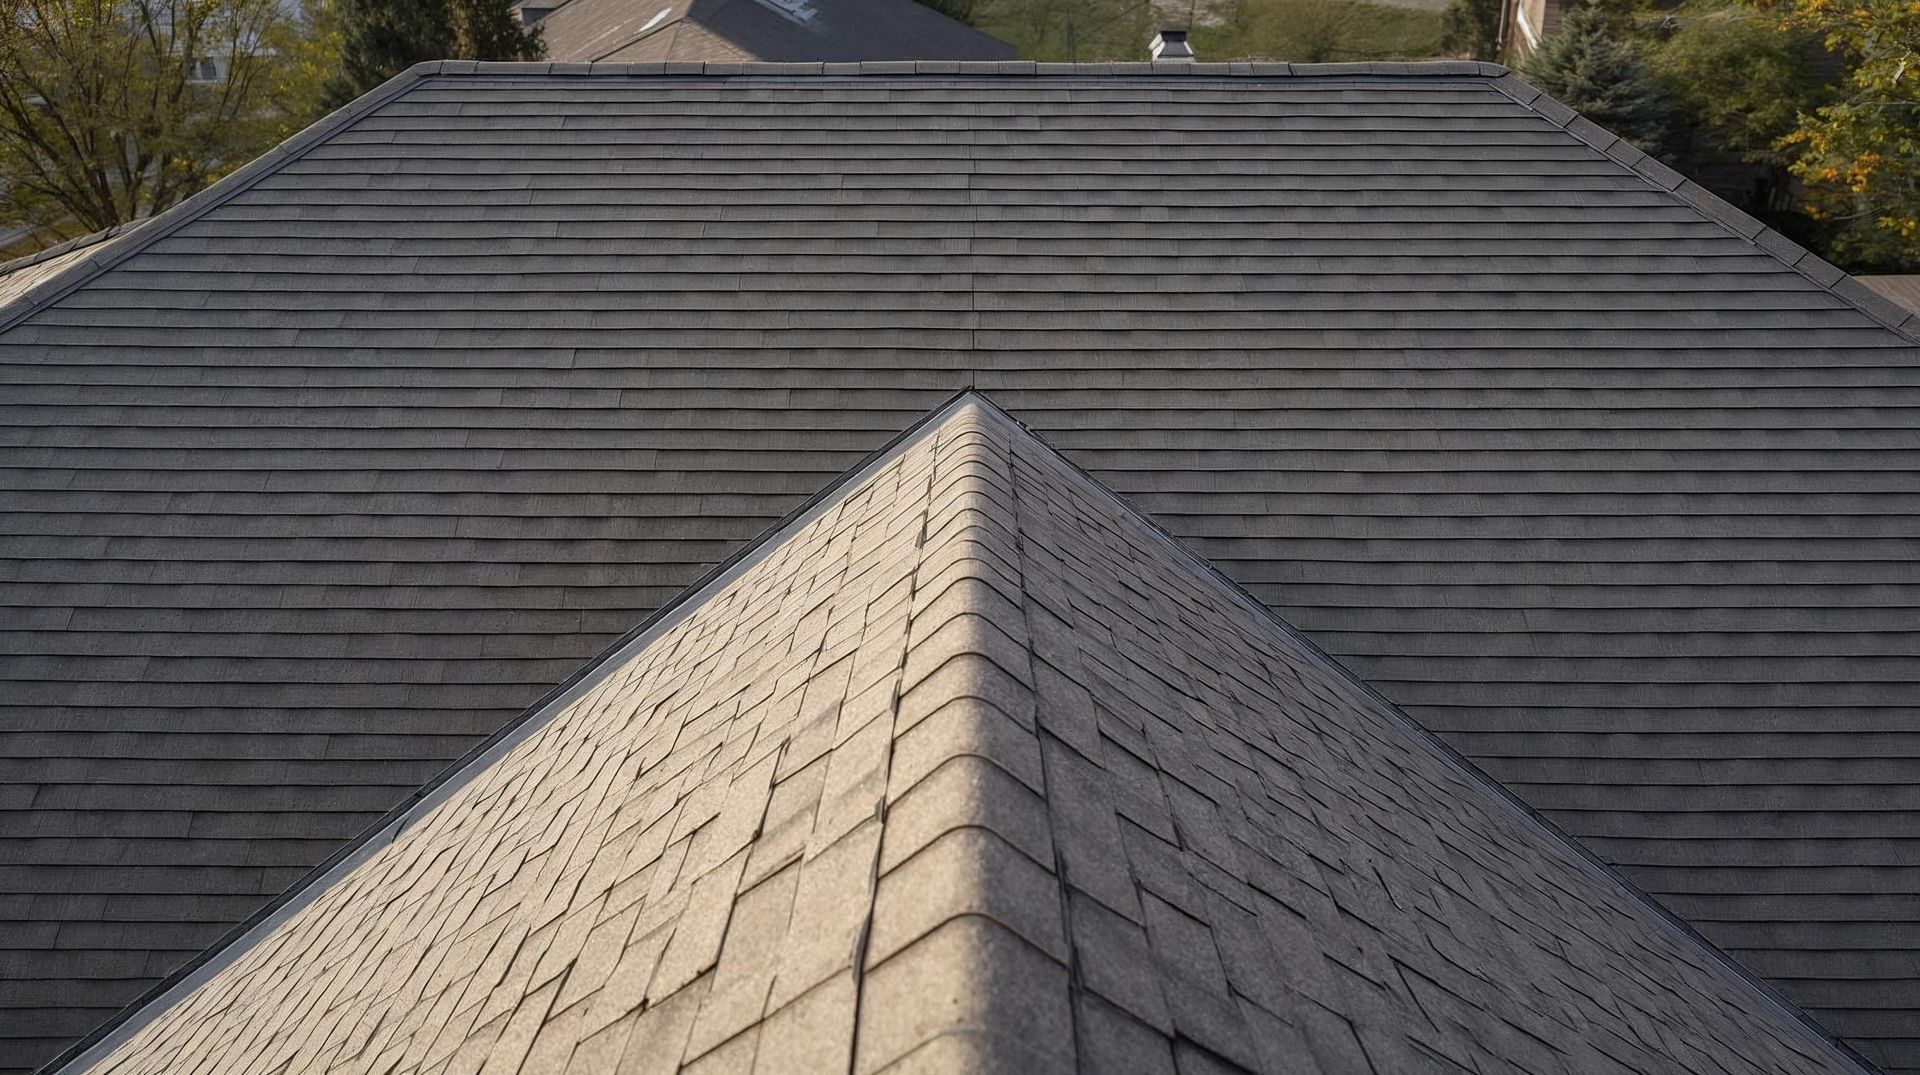
Phase 5: Shingles Installation and Roof Installation
The roof installation of new shingles represents the most visible phase of your roofing project, requiring precise execution of manufacturer specifications, proper fastening techniques, and quality craftsmanship to ensure weather protection, aesthetic appeal, and warranty compliance.
New Shingles Installation Methodology
Roof installation of new shingles follows manufacturer specifications, ensuring proper weather protection and warranty compliance. The process begins with starter shingles installation along the eaves.
1. Starter Shingles and Initial Courses
2. Starter shingles provide critical wind uplift resistance and a waterproof seal along roof edges. These specialized shingles include adhesive strips that bond with the first course of field shingles.
3. Shingle Installation Sequence:
- Starter shingles along eaves and rakes
- First course installation with proper overhang
- Shingles start pattern follows the manufacturer's guidelines.
- Progressive installation, maintaining straight lines
- Ridge cap shingles complete the roof ridge.
Advanced Installation Techniques
Properly installed shingles require precise nailing patterns, appropriate fastener selection, and weather-appropriate installation timing.
Professional contractors use roofing nails specifically designed for the chosen roofing materials.
Critical Installation Elements:
- Nail placement in manufacturer-specified zones
- Roofing nails of the appropriate length for the roof decking thickness
- Same size and type of nails throughout installation
- Weather seal application using roofing cement where required
Phase 6: Ventilation and Ridge Vent Installation
Proper ventilation system installation, including ridge vents and roof vents, creates essential airflow that prevents moisture buildup, reduces energy efficiency costs, and extends roof lifespan while maintaining comfortable indoor temperatures year-round.
Roof Vents and Ventilation Systems
Proper ventilation extends roof lifespan while improving energy efficiency. Ridge vents work with soffit vents, creating continuous airflow that prevents ice dams and reduces cooling costs.
Ventilation Component Installation:
- Ridge vent along the roof's peak for exhaust ventilation
- New vents are replacing damaged exhaust points.
- Vent pipes integration with plumbing systems
- Attic fan connections for enhanced air movement
Ridge Vent installation requires precise cutting and sealing to maintain weather resistance while maximizing airflow efficiency.
Also Read: How Much Does It Cost to Replace a Roof in 2025?
Phase 7: Final Inspection and Quality Control
The final inspection process ensures every component of your new roof meets professional standards, manufacturer specifications, and building codes, providing confidence in workmanship quality and establishing warranty coverage for long-term protection.
Comprehensive Final Inspection Process
Professional final inspection ensures all components meet manufacturer specifications and local building codes.
This multi-point inspection covers installation quality, material performance, and safety equipment compliance.
Final Inspection Checklist:
- Shingle alignment and fastener placement verification
- Flashing integration and waterproof seal testing
- Ridge cap shingles and ridge vent functionality
- Drip edge positioning and water flow testing
- Clean up completion and site restoration
Addressing Final Payment and Warranty
Final payment should be withheld until final inspection completion and customer satisfaction.
Reputable contractors provide comprehensive warranty information covering materials and workmanship.
Phase 8: Clean Up and Project Completion
Professional clean up and site restoration complete your roof replacement experience, returning your property to pristine condition while providing warranty information, maintenance guidance, and ongoing support for your investment in new roofing materials.
Thorough Clean Up and Site Restoration
Professional clean up extends beyond simple debris removal, restoring your property to pre-construction conditions while ensuring safety.
Comprehensive Clean Up Protocol:
- Magnetic collection of stray nails and metal debris
- Other debris removal from gutters and downspouts
- Landscaping restoration, plant protection, and removal
- Vehicle and outdoor furniture area cleaning
- Final inspection walkthrough with homeowner
Post-Installation Care and Maintenance
New roof systems require minimal immediate maintenance but benefit from regular inspections and preventive care.
Understanding roof system components helps homeowners identify potential issues before they require expensive repairs.
Also Read: Roof Cost Estimator: Try Before You Call
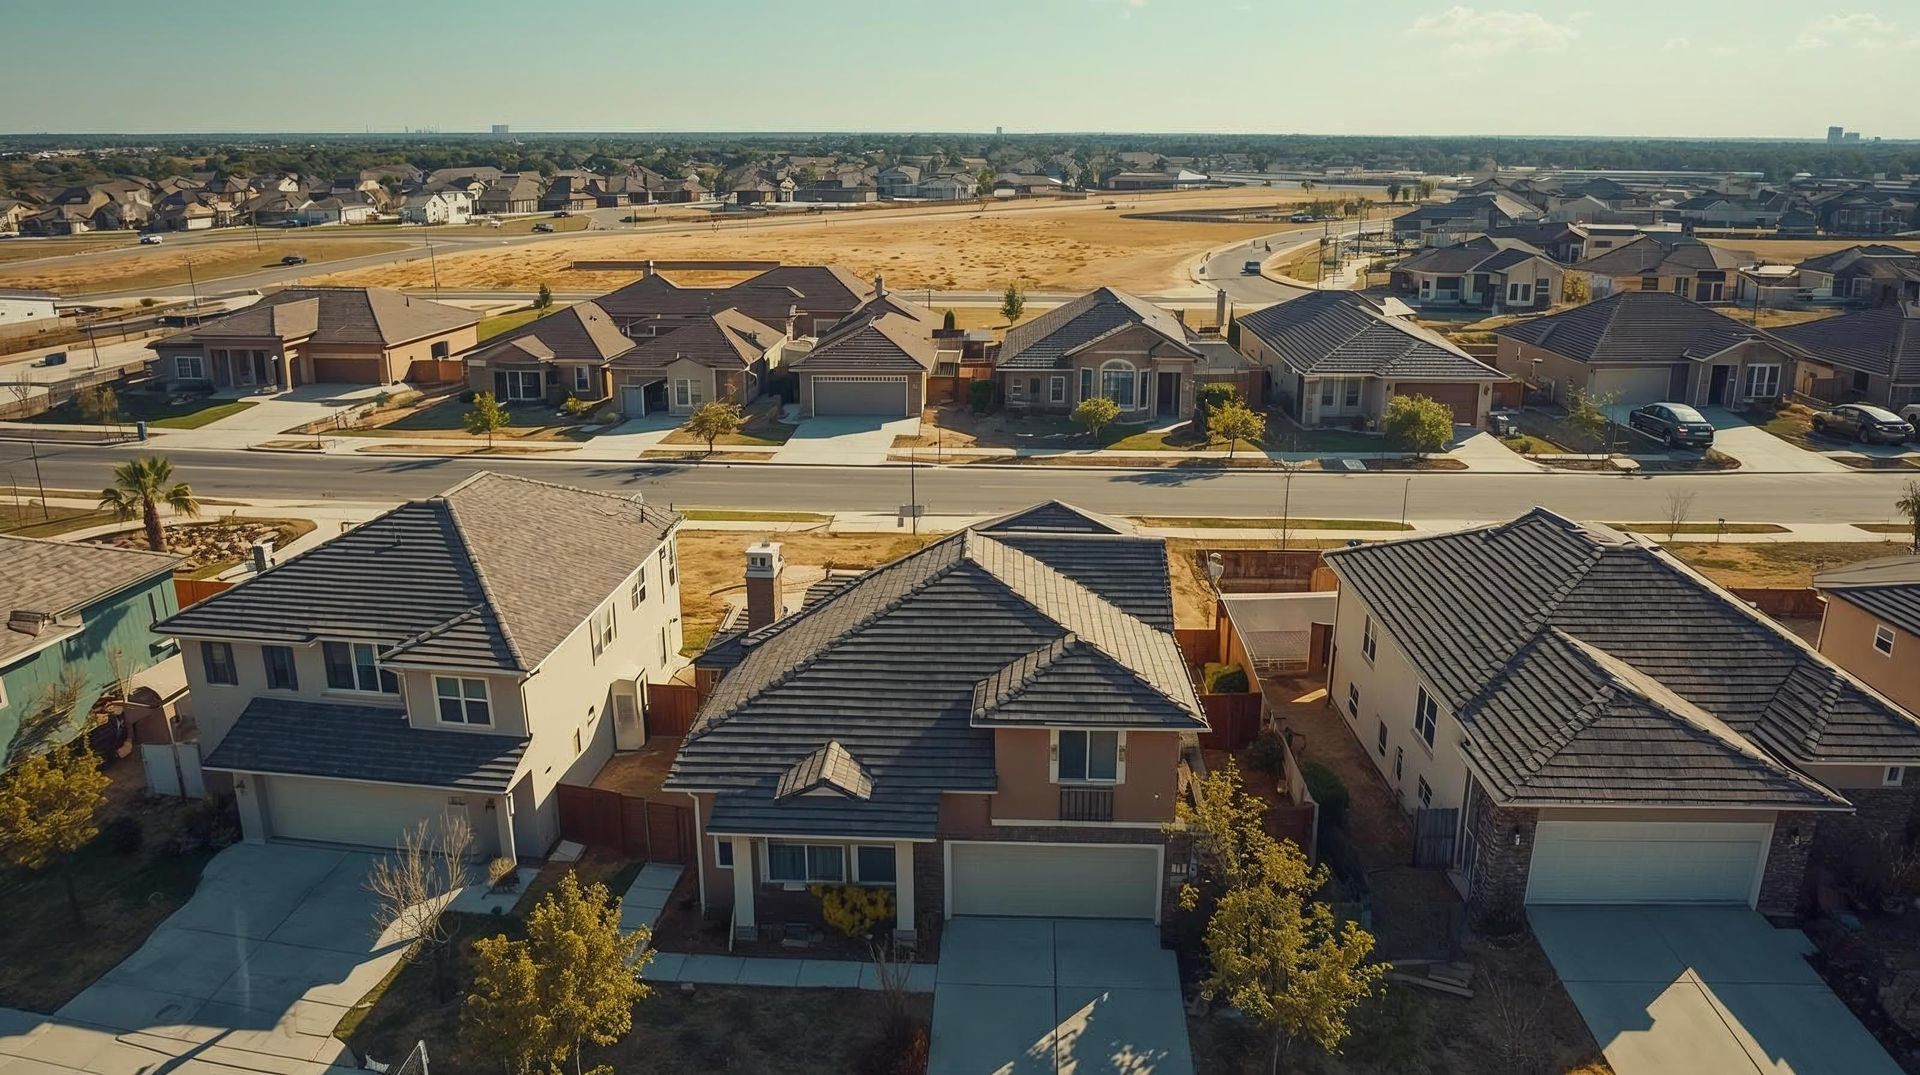
Factors Affecting the Roof Installation Process Timeline
Roof replacement timelines vary significantly based on multiple variables, including roof complexity, material selection, weather conditions, and project scope, requiring homeowners to understand these factors for realistic planning and expectation management throughout their roofing project.
Complex Roofs and Installation Challenges
Complex roofs with multiple angles, dormers, and architectural features require additional installation time and specialized expertise.
Commercial buildings and custom residential designs often include unique challenges affecting project duration.
Timeline Variables:
- Weather conditions and seasonal considerations
- Roof size measured in squares (100 square feet each)
- Local regulations requiring inspections and permits
- Material delivery scheduling and availability
- Roofing contractor crew size and experience level
Managing Home Improvements During Installation
Roof replacement impacts daily routines, requiring coordination with other home improvements and family schedules.
Professional contractors minimize disruption while maintaining safety standards throughout the roofing project.
Understanding Re Roofing vs. Full Replacement
Homeowners face an important decision between re-roofing and full replacement options, each offering distinct advantages and limitations that affect long-term performance, costs, and warranty coverage for their roofing project investment.
Re Roofing Considerations and Limitations
Re-roofing involves installing an extra layer of shingles over existing shingles, offering cost savings but limiting future options.
Most building codes restrict installations to a maximum of two shingle layers.
Full Replacement Advantages:
- Complete roof system upgrade and modernization
- Roof decking inspection and repair opportunities
- Extended warranty coverage and manufacturer support
- Improved energy efficiency and ventilation integration
- Enhanced curb appeal and property value
Also Read: What’s the Cheapest Way to Replace a Roof?
Cost Management and Overall Cost Considerations
Understanding the comprehensive breakdown of roof replacement costs enables effective budget planning and informed decision-making, with material selection, labor requirements, and project complexity significantly impacting the overall cost of your roofing project.
Roof Replacement Costs Breakdown
Understanding overall cost components helps homeowners budget effectively for their roofing project:
Primary Cost Categories:
- Roofing materials (40-50% of total cost)
- Labor and installation (35-45% of total cost)
- Tear off and disposal (10-15% of total cost)
- Permits and inspections (2-5% of total cost)
Safety Considerations and Fire-Resistant Materials
Modern roofing materials prioritize safety through advanced fire-resistant technologies and comprehensive installation protocols, while professional roofing contractors implement strict safety equipment standards protecting workers and homeowners throughout the roof installation process.
Modern Fire-Resistant Roofing Materials
Contemporary roofing materials incorporate fire-resistant technologies, providing enhanced protection for homeowners in wildfire-prone regions.
Class A fire ratings represent the highest level of fire resistance available in residential roofing.
Professional Safety Equipment and Protocols
Legitimate roofing contractors implement comprehensive safety protocols, including OSHA-compliant safety equipment, fall protection systems, and worker training programs.
These measures protect both workers and homeowners throughout the general process.
Conclusion
Roof replacement represents a significant investment in your home's protection, energy efficiency, and curb appeal.
Understanding the complete roof replacement process from initial planning through final inspection helps homeowners make informed decisions and select qualified contractors.
The general process typically requires 3-7 days for completion, though complex roofs and weather conditions may extend timelines.
Working with the right roofing contractor ensures proper installation, comprehensive warranties, and long-term satisfaction with your new roof system.
Don't wait for storm damage to cost you thousands. Try our Roof Replacement Cost Calculator now for accurate pricing on quality roofing materials.
How long does a roof replacement take to complete?
Most roof replacement projects take 3-7 days for completion, depending on several factors, including roof size, complexity, weather conditions, and chosen roofing materials. A standard 2,000 square foot home with asphalt shingles typically requires 2-4 days, while complex roofs with multiple angles, dormers, or commercial building applications may extend to 5-10 days.
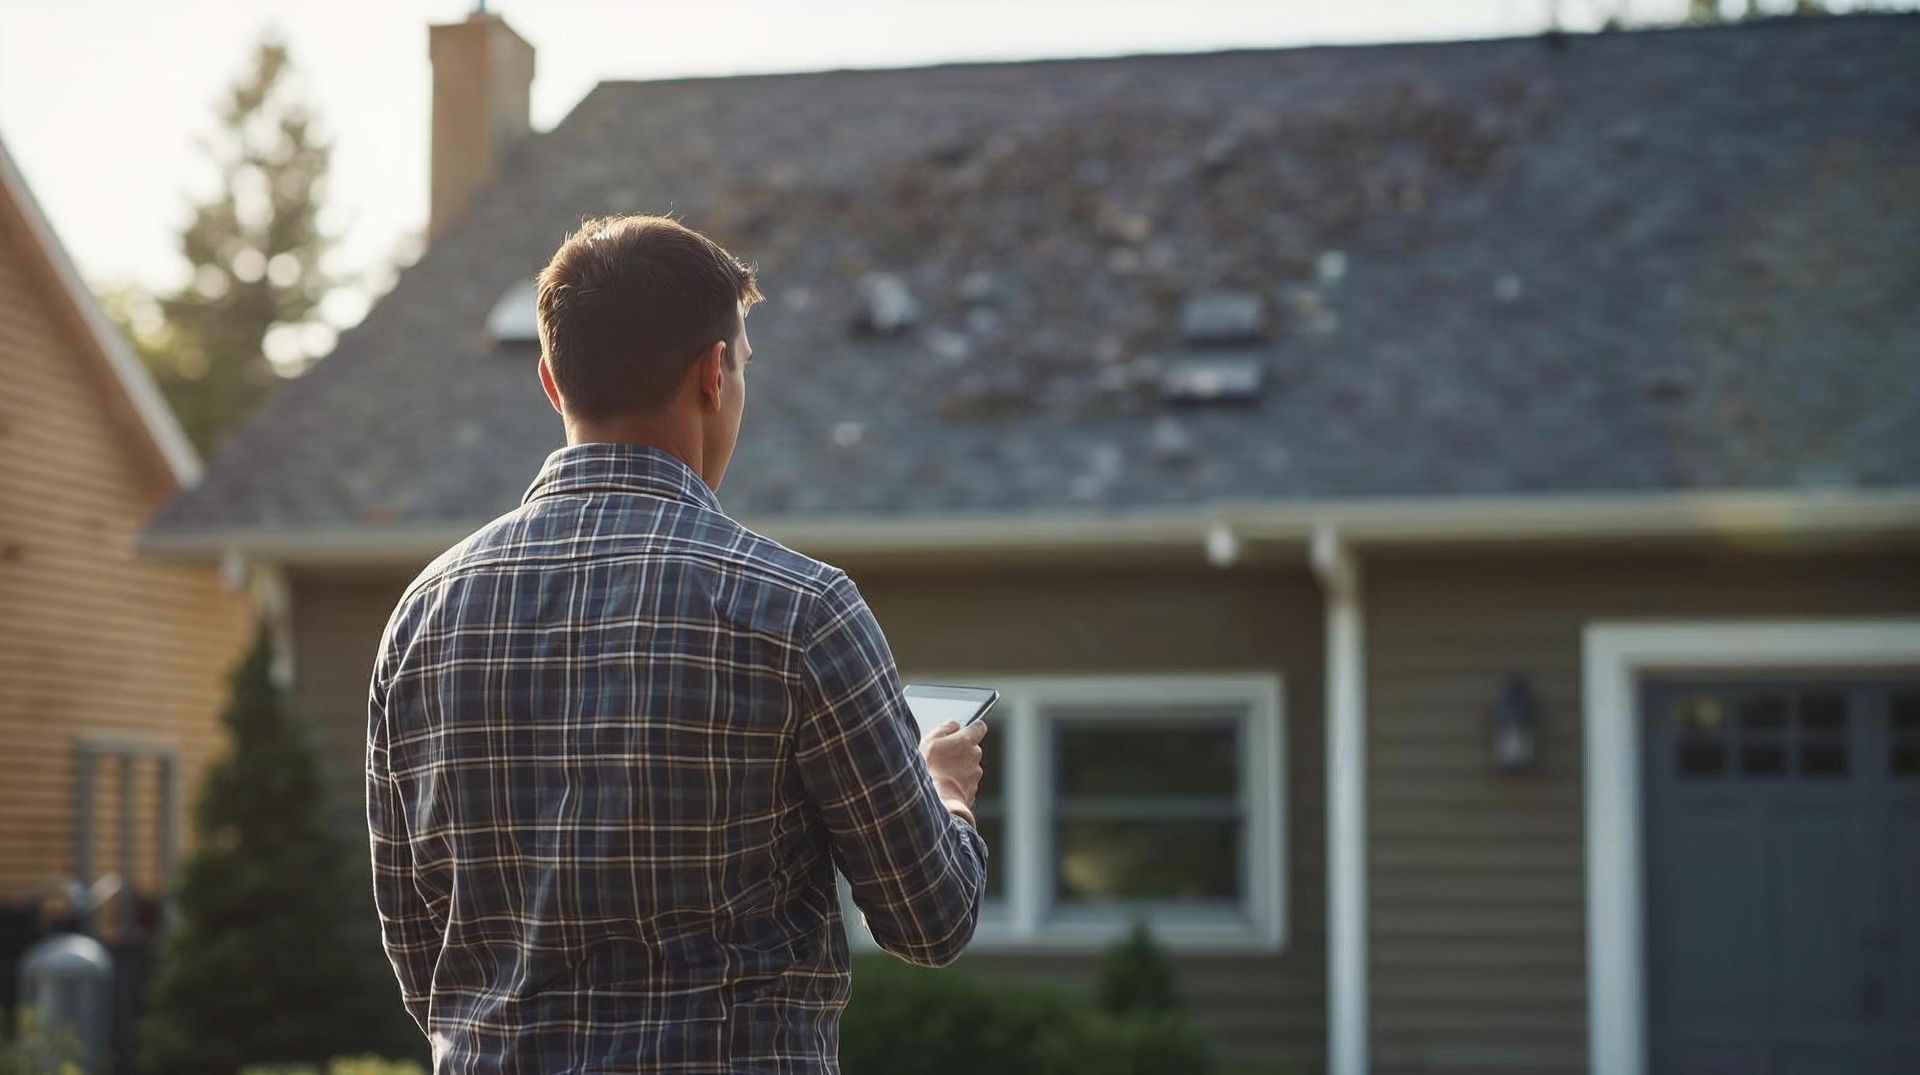
What are the main signs that indicate I need roof replacement instead of repair?
Roof replacement becomes necessary when your old roof shows multiple deterioration signs simultaneously, typically after 20-30 years for asphalt shingles or when damage exceeds 25% of the roof system. Key indicators include curling or buckling existing shingles and significant granule loss, making shingles.
How much should I expect to pay for roof replacement costs?
Roof replacement costs vary significantly based on roofing materials, roof size, complexity, and regional labor rates, with typical ranges from $15,000 to $35,000 for average homes. Asphalt shingles cost $3-7 per square foot installed, while architectural shingles range $4 to $8 per square foot for enhanced durability and appearance.
Can you install new roofing materials over existing shingles?
Re-roofing or installing new shingles over existing shingles is possible but comes with significant limitations and risks compared to full replacement. Most building codes allow a maximum of two layers of shingles, so homes with existing double layers require a complete tear-off before new roof installation.
Will roof replacement improve my home's energy efficiency?
New roof installation can significantly improve energy efficiency by 10-25% through advanced roofing materials, proper ventilation, and modern insulation techniques. Contemporary asphalt shingles and architectural shingles feature reflective granules, reducing heat absorption, while metal roofing provides superior thermal performance with reflective coatings.