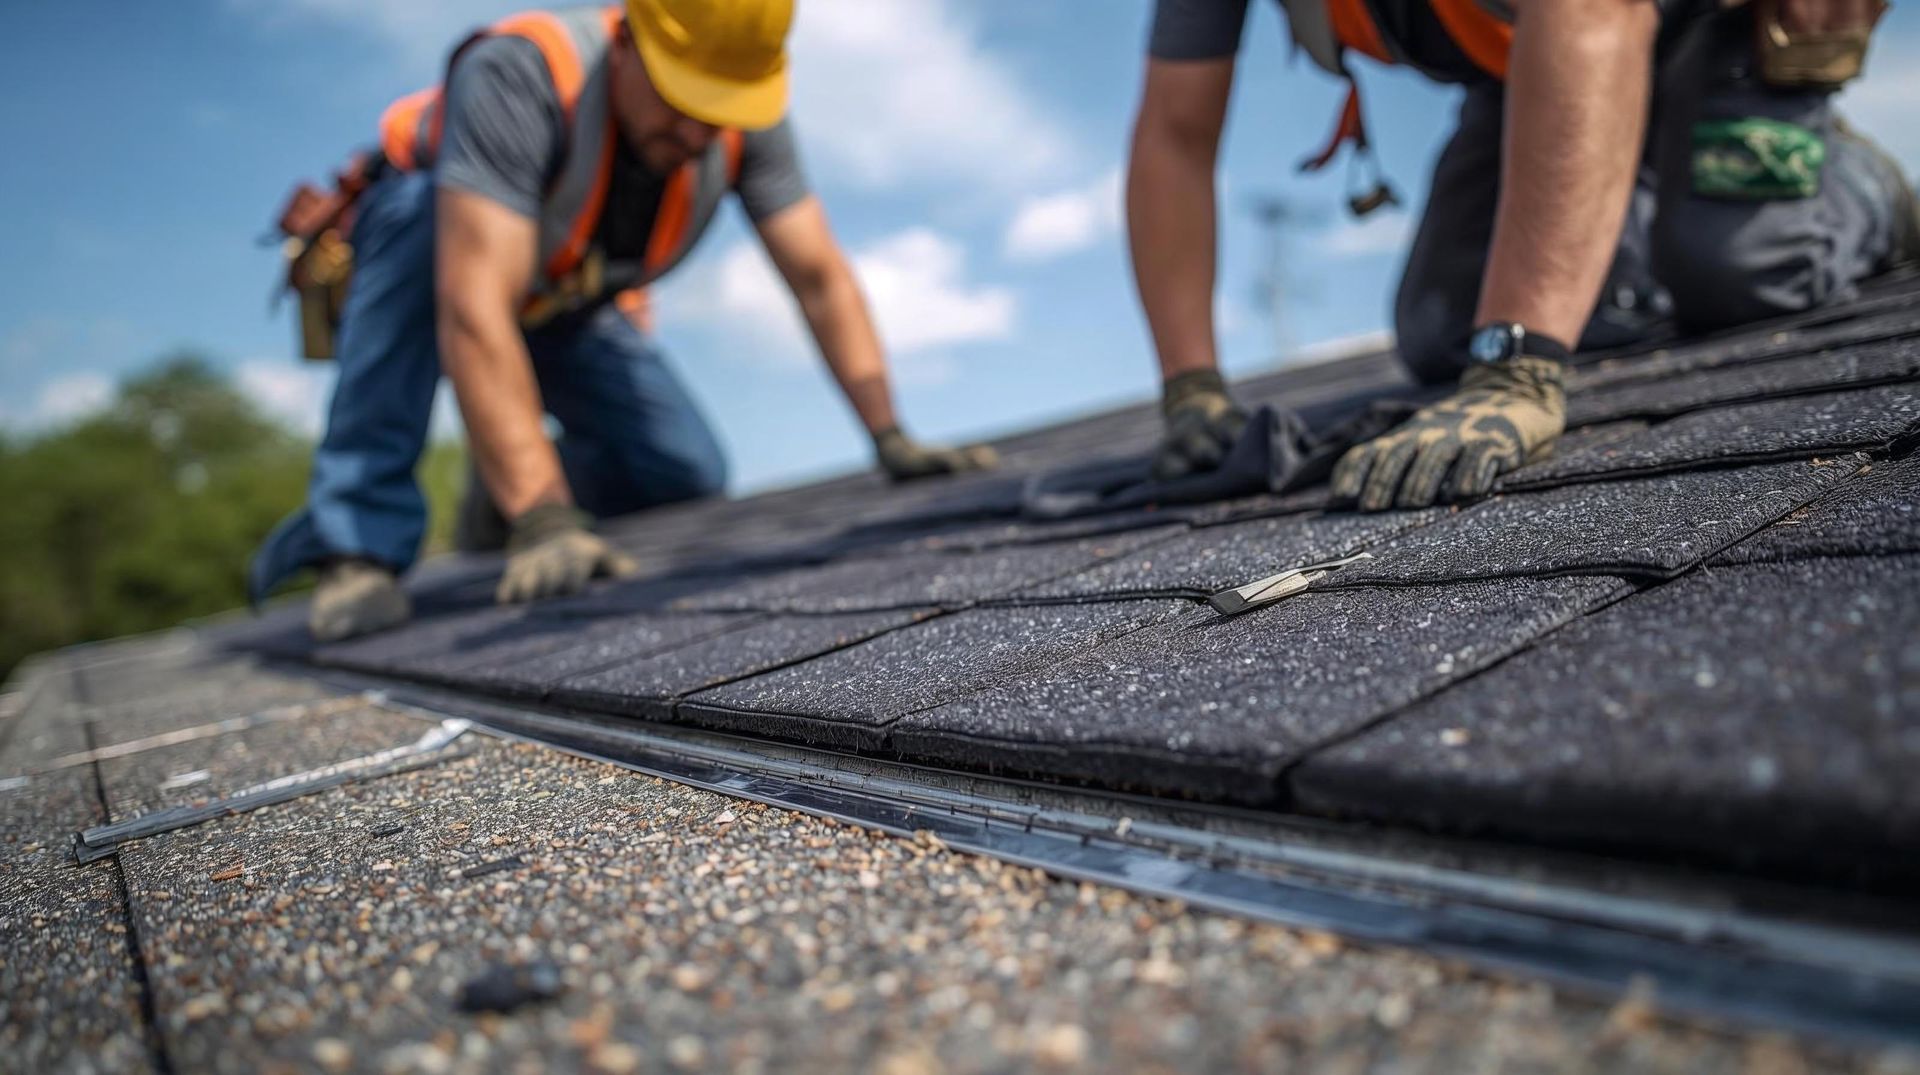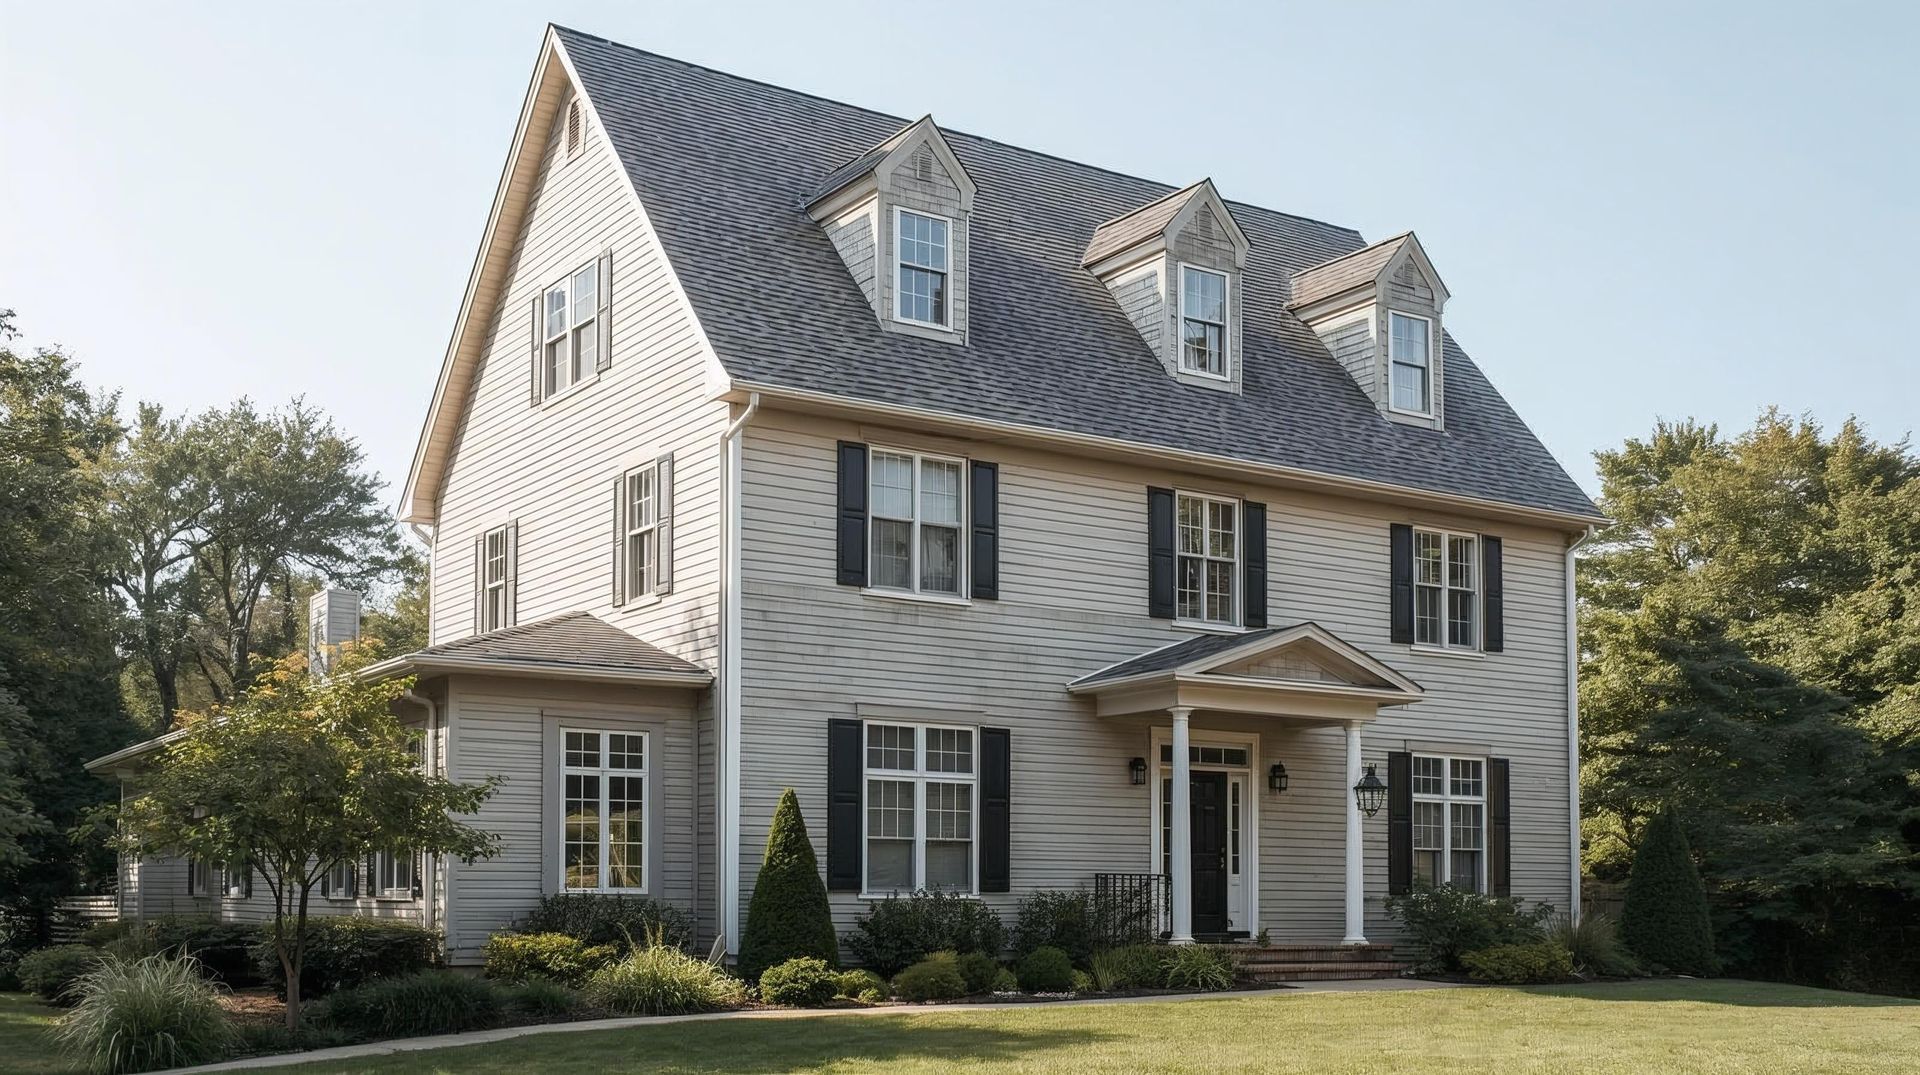
DIY Roof Inspection: 8 Things You Can Check Before Calling a Pro
- Regular DIY inspections can save money: Spotting small roofing issues early helps prevent costly repairs later.
- Focus on visible warning signs: Look for damaged shingles, water stains, moss growth, or sagging areas before calling a professional.
- Safety always comes first: Use binoculars or a camera instead of climbing if the roof is steep or slippery.
- Know when to call an expert: If you notice structural damage, large leaks, or widespread wear, professional help is essential.
DIY Roof Inspection Guide: Spot Issues Before You Call an Expert
While a professional roof inspection conducted by a qualified roof inspector remains the gold standard for thorough assessment, homeowners can perform meaningful evaluations that help identify when to call a professional roofer.
Understanding your roof's integrity through regular DIY inspections enables early detection of potential problems before they escalate into major issues requiring complete roof replacement.
Use our AI calculator today and protect your home's most critical investment!
What Essential Safety Measures Must You Follow During DIY Roof Inspection?
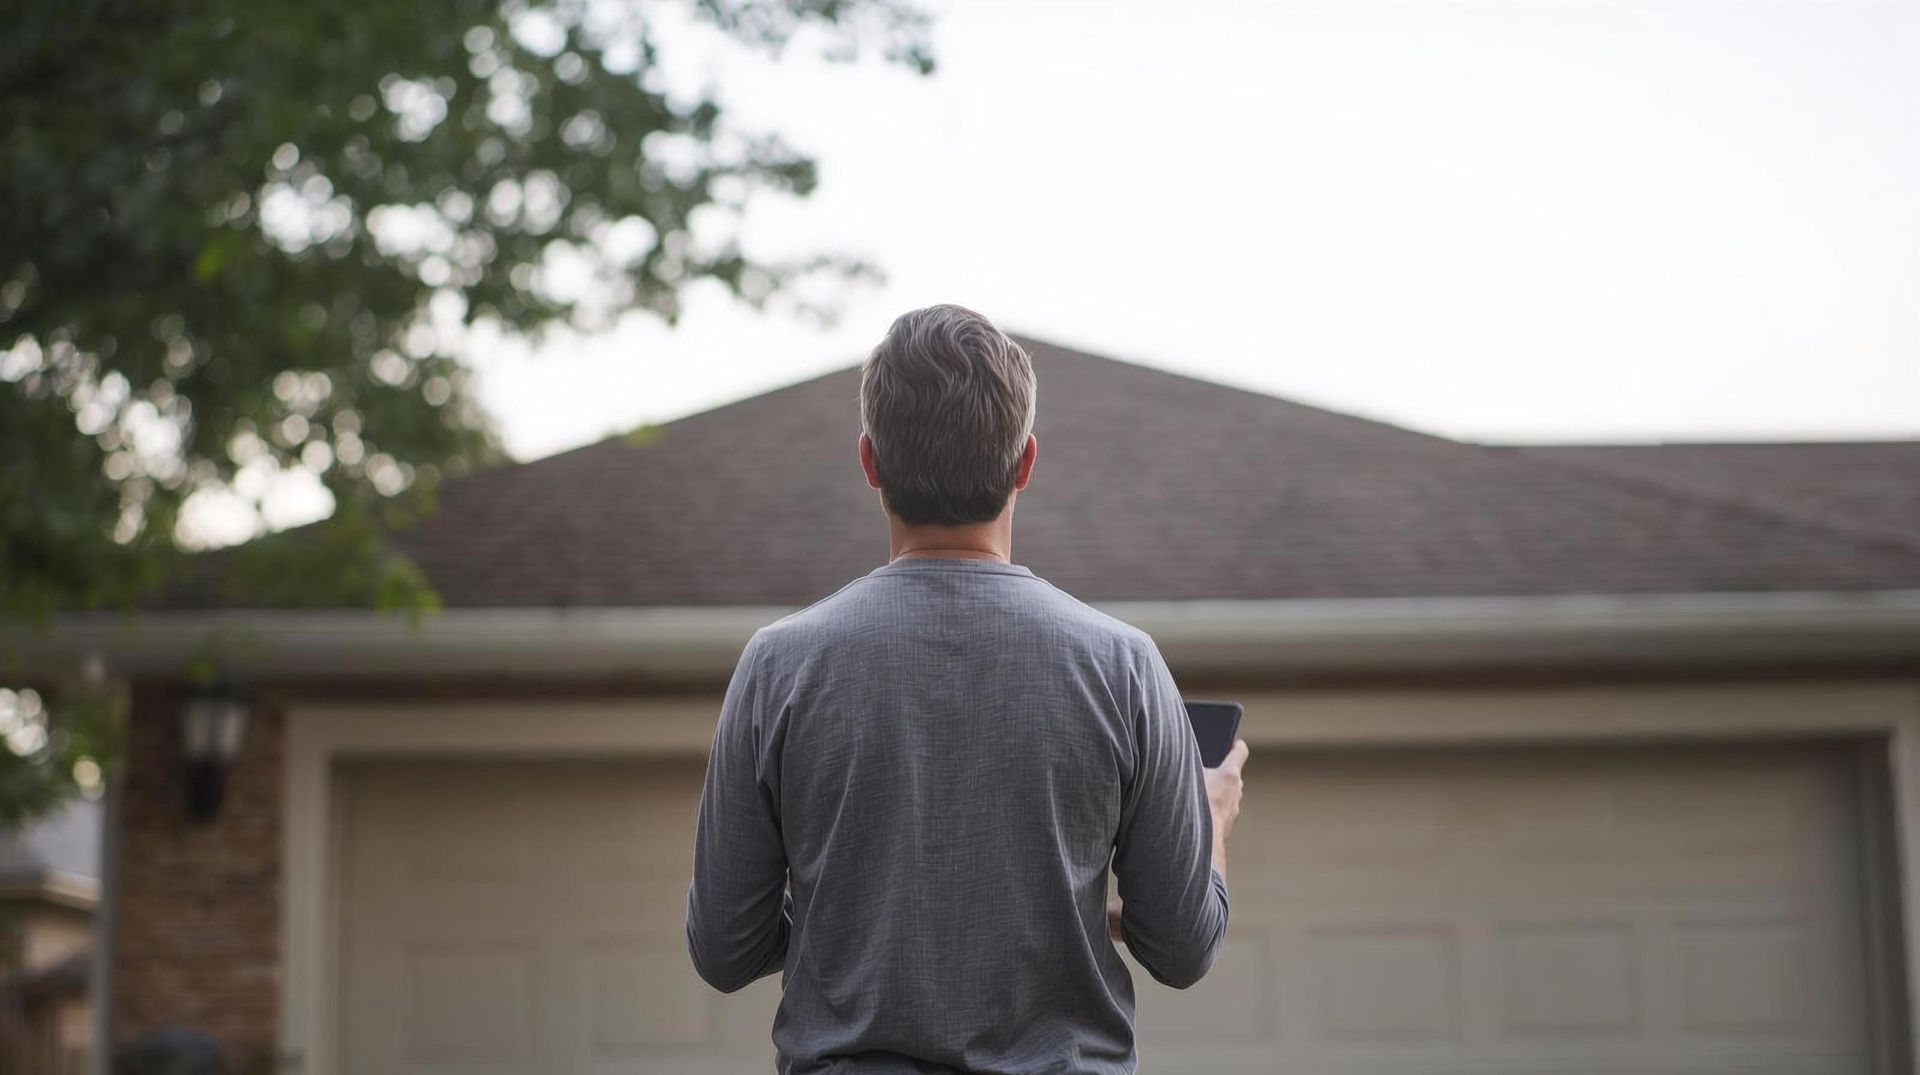
DIY roof inspection safety protocols form the foundation of effective assessment without compromising the homeowner's well-being.
Ground-level inspection process eliminates the risks associated with climbing while still providing a comprehensive evaluation of roofing materials and visible damage.
Required Safety Equipment and Weather Conditions
Essential equipment for safe roof inspection includes quality binoculars for detailed observation, a powerful flashlight for attic examination, and a camera for documenting visible signs of damage.
Inspection should only be conducted during clear, dry weather conditions with good visibility. Wet surfaces create dangerous conditions that can easily miss critical safety concerns.
Safety Equipment Checklist:
- High-quality binoculars (8x42 or higher magnification)
- LED flashlight with fresh batteries for attic spaces
- A camera or a smartphone for documentation
- Sturdy ladder for accessing gutters (with spotter assistance)
- Non-slip footwear for any elevated position
Warning Signs That Require Immediate Professional Help
Certain conditions mandate immediate professional roofing contractor intervention rather than DIY inspections.
Sagging areas indicating structural damage, extensive storm damage from high winds, electrical hazards near roof penetrations, or obvious signs of structural integrity compromise require expert assessment.
When several factors suggest emergency conditions, recommend scheduling an immediate professional evaluation rather than attempting further DIY roof inspection.
Also Read: What’s the Cheapest Way to Replace a Roof?
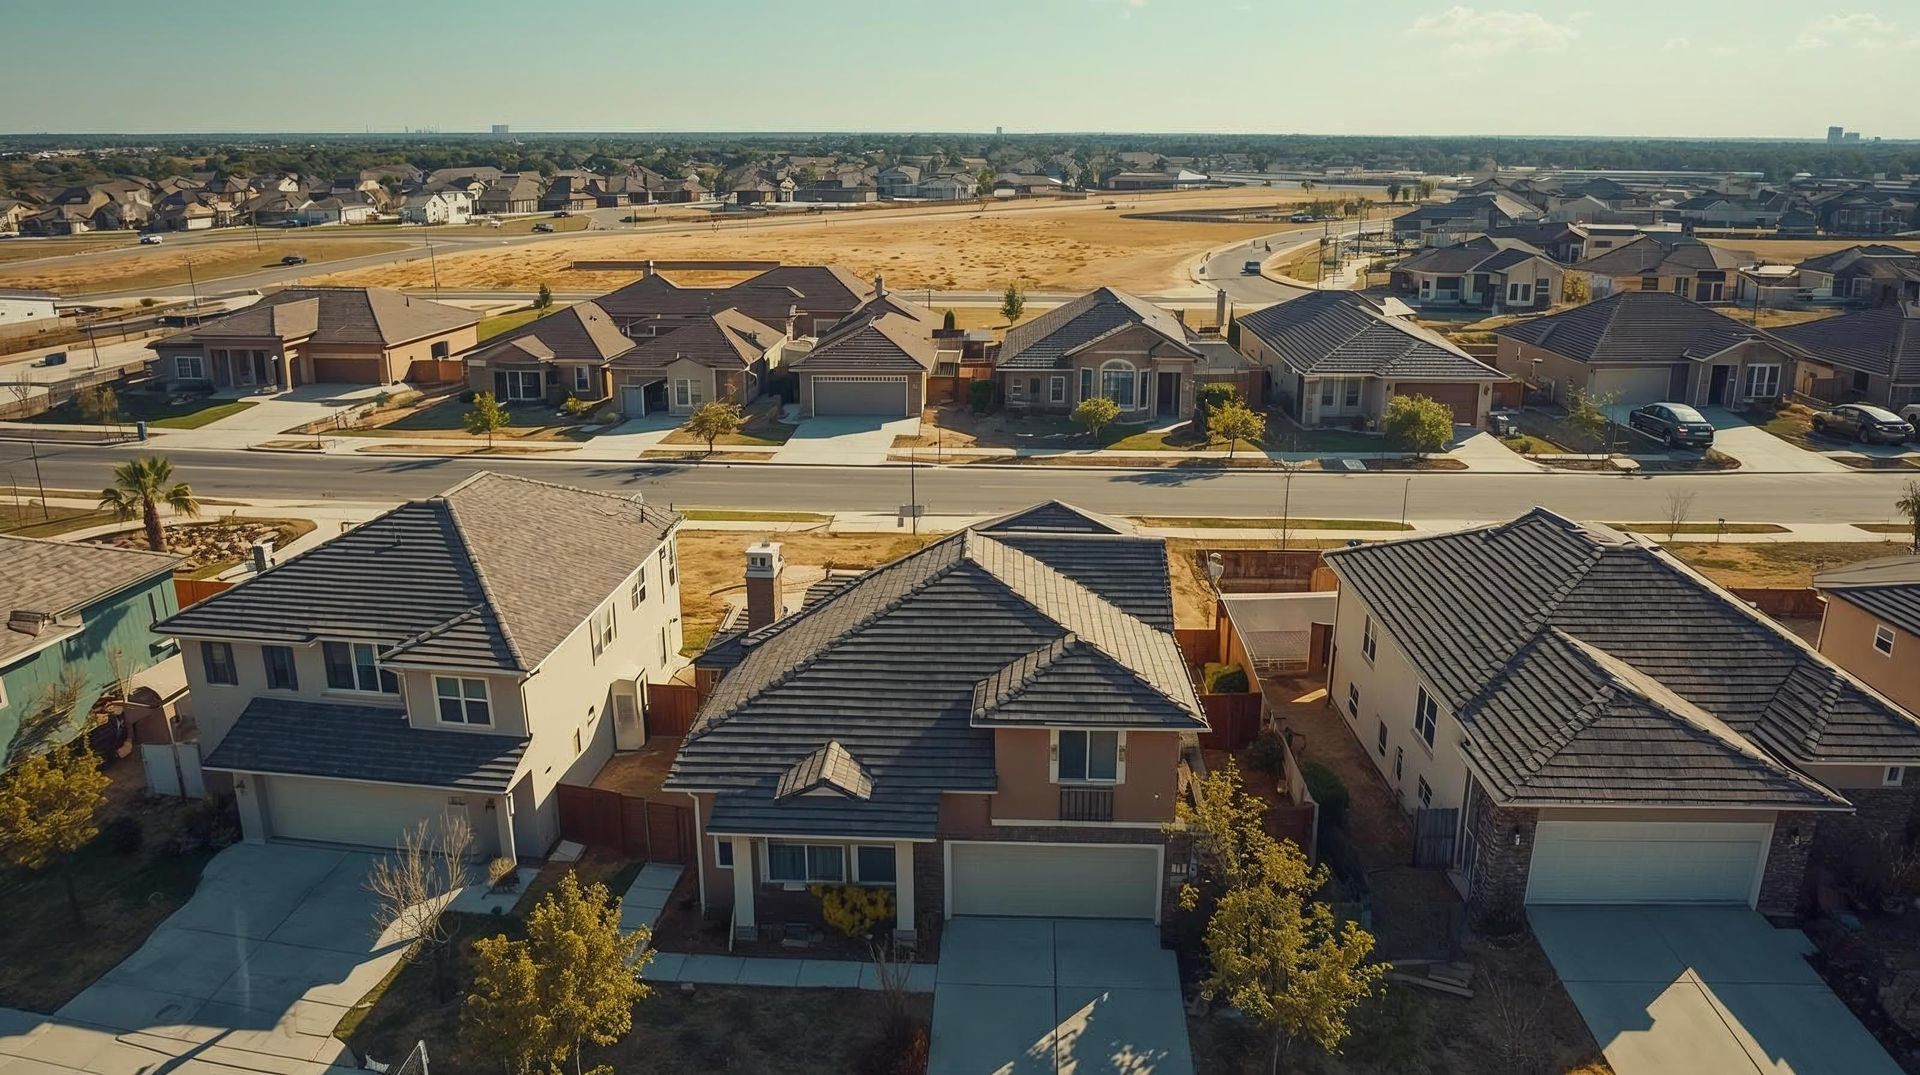
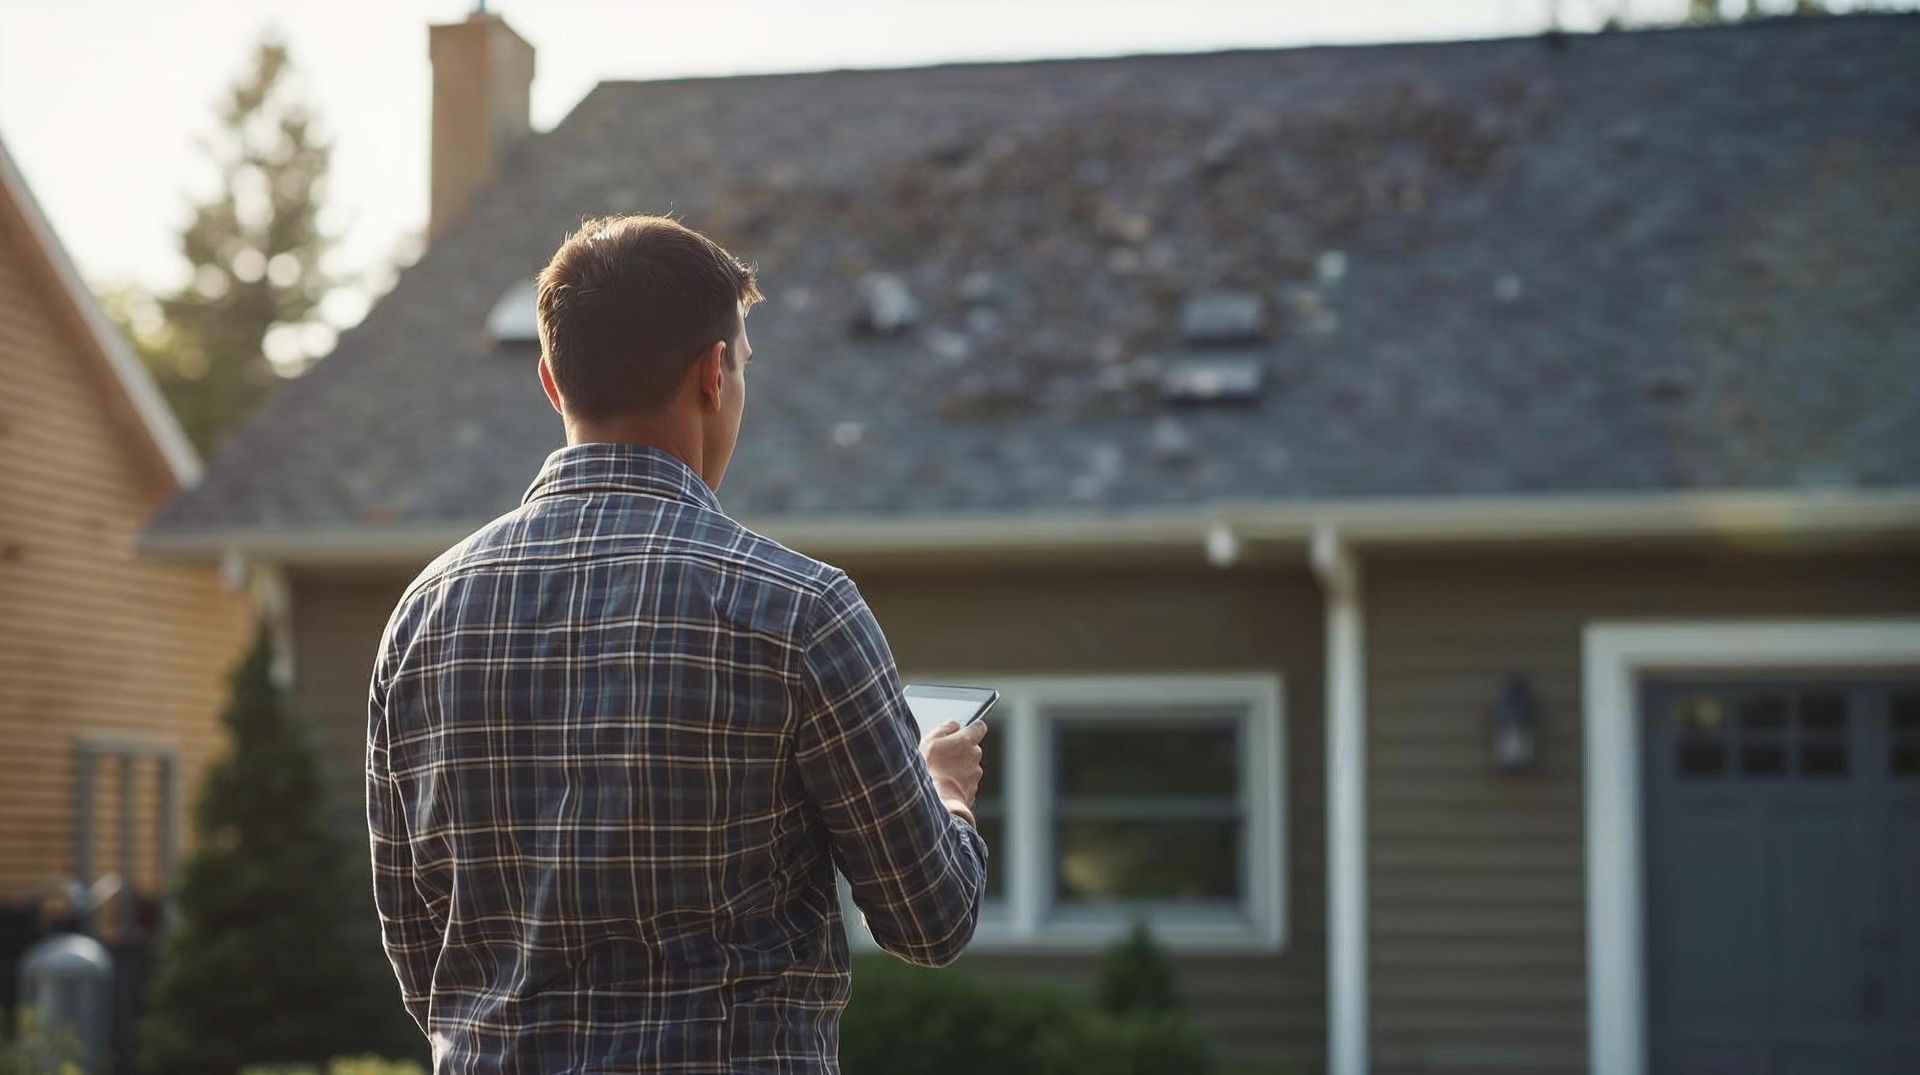
How Can You Effectively Inspect Your Roof's Exterior from Ground Level?
Systematic exterior assessment enables comprehensive roof inspection without the safety risks associated with climbing.
Professional inspection techniques adapted for homeowner use provide reliable methods to identify signs of damage, evaluate roofing materials' condition, and assess overall roof health through careful observation and documentation.
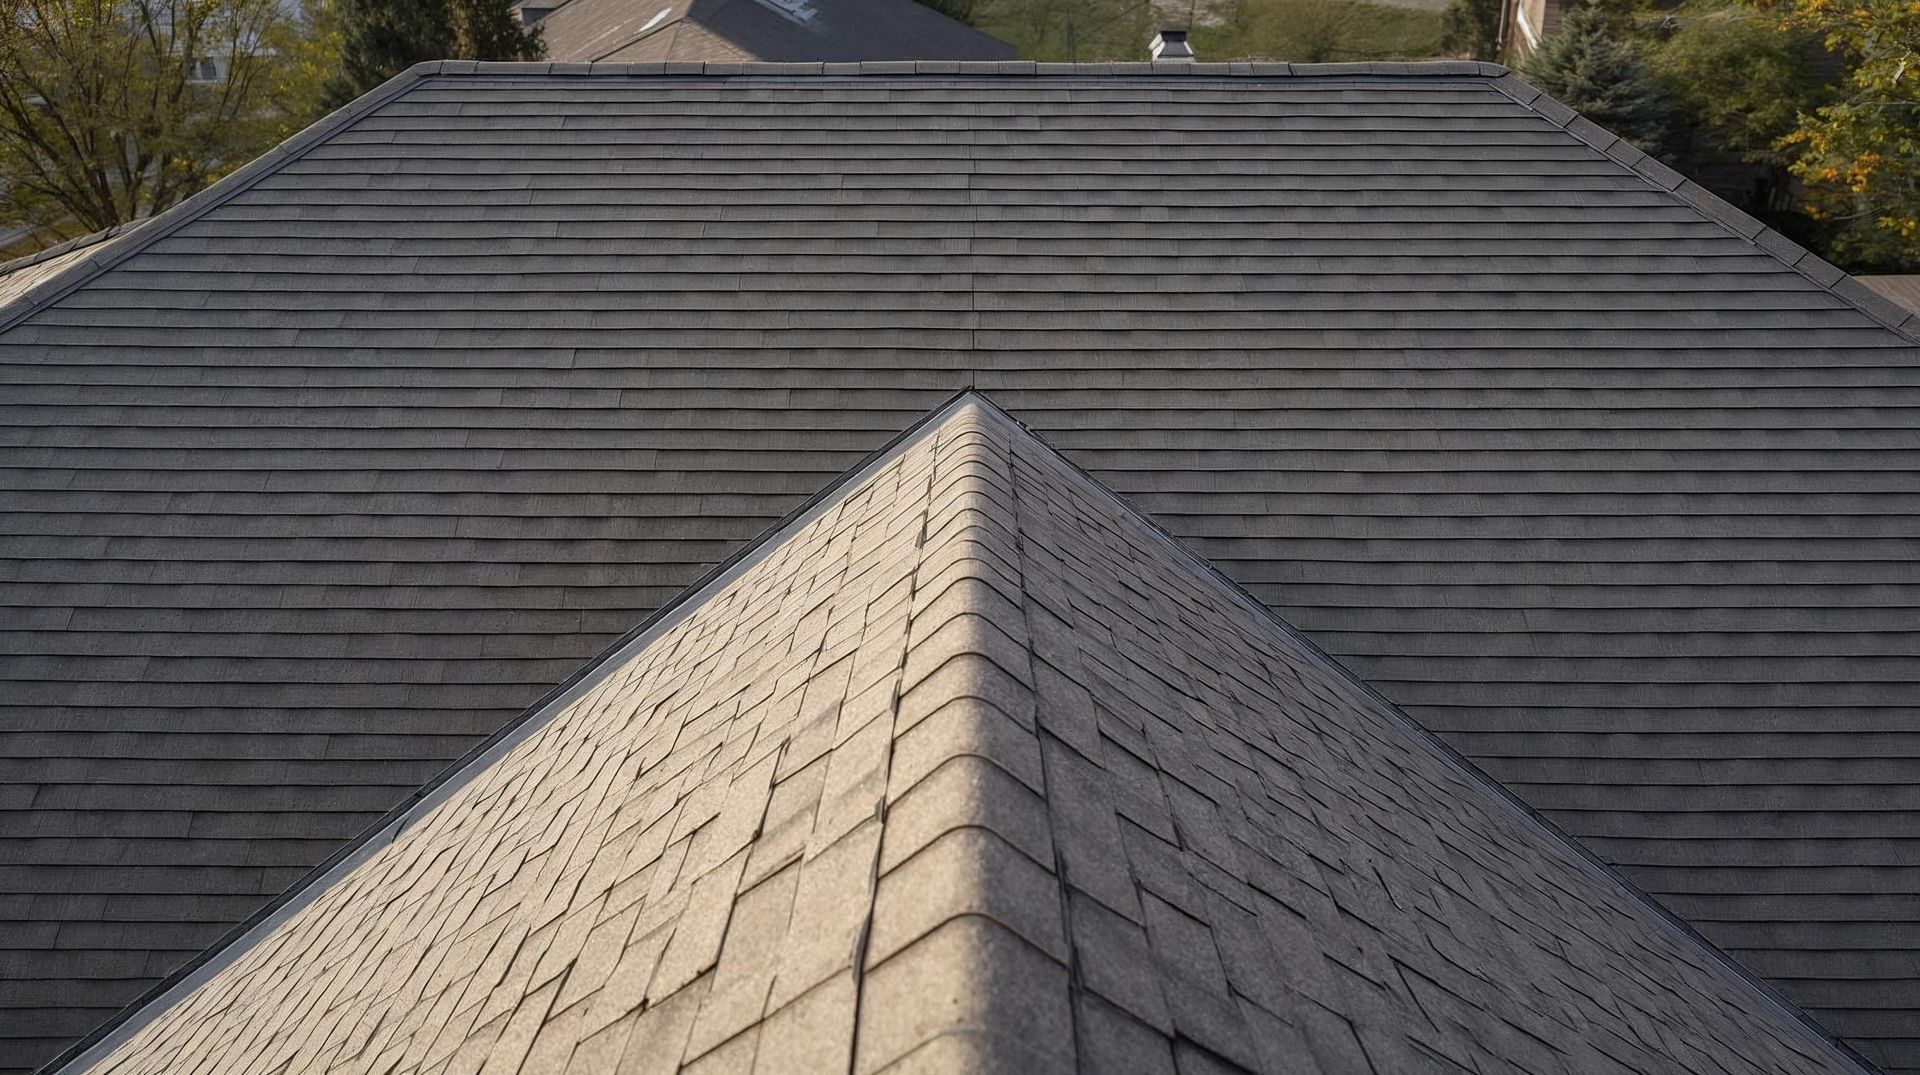
Missing or Damaged Shingles Assessment
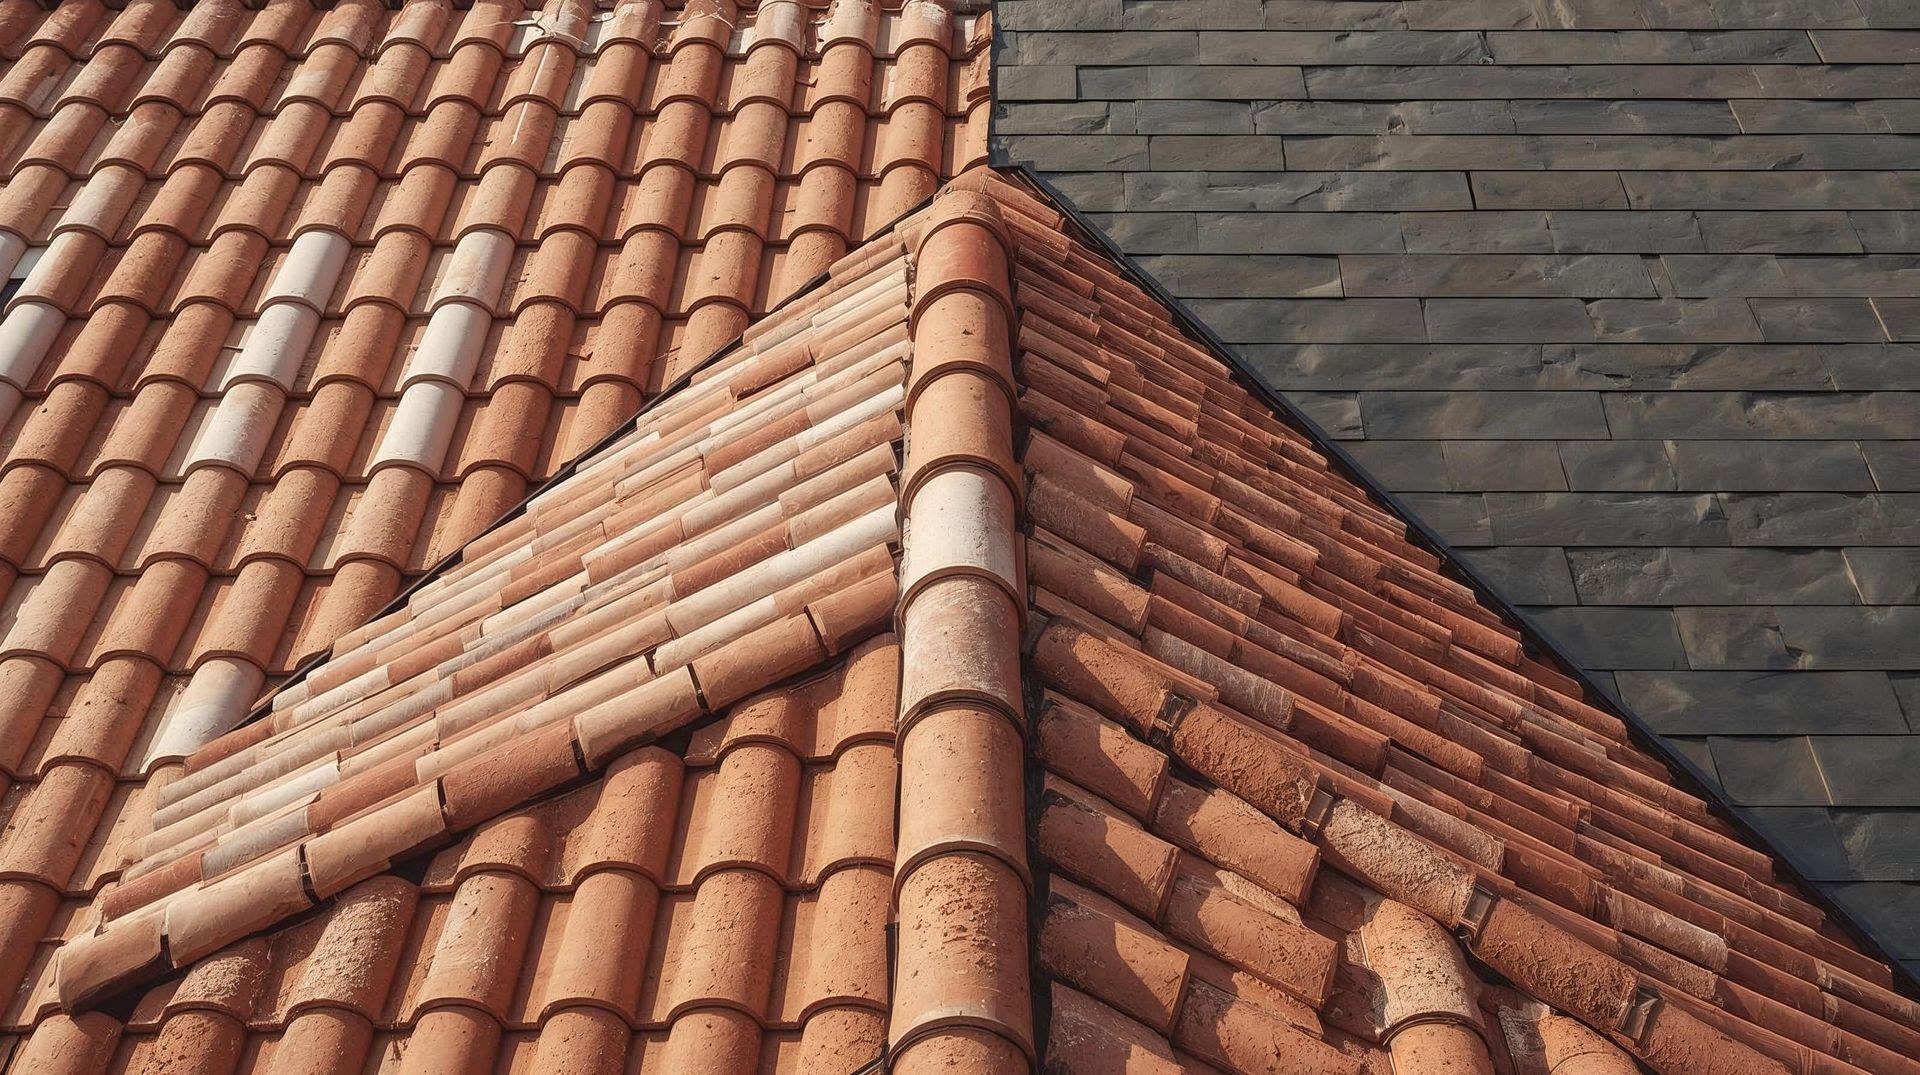
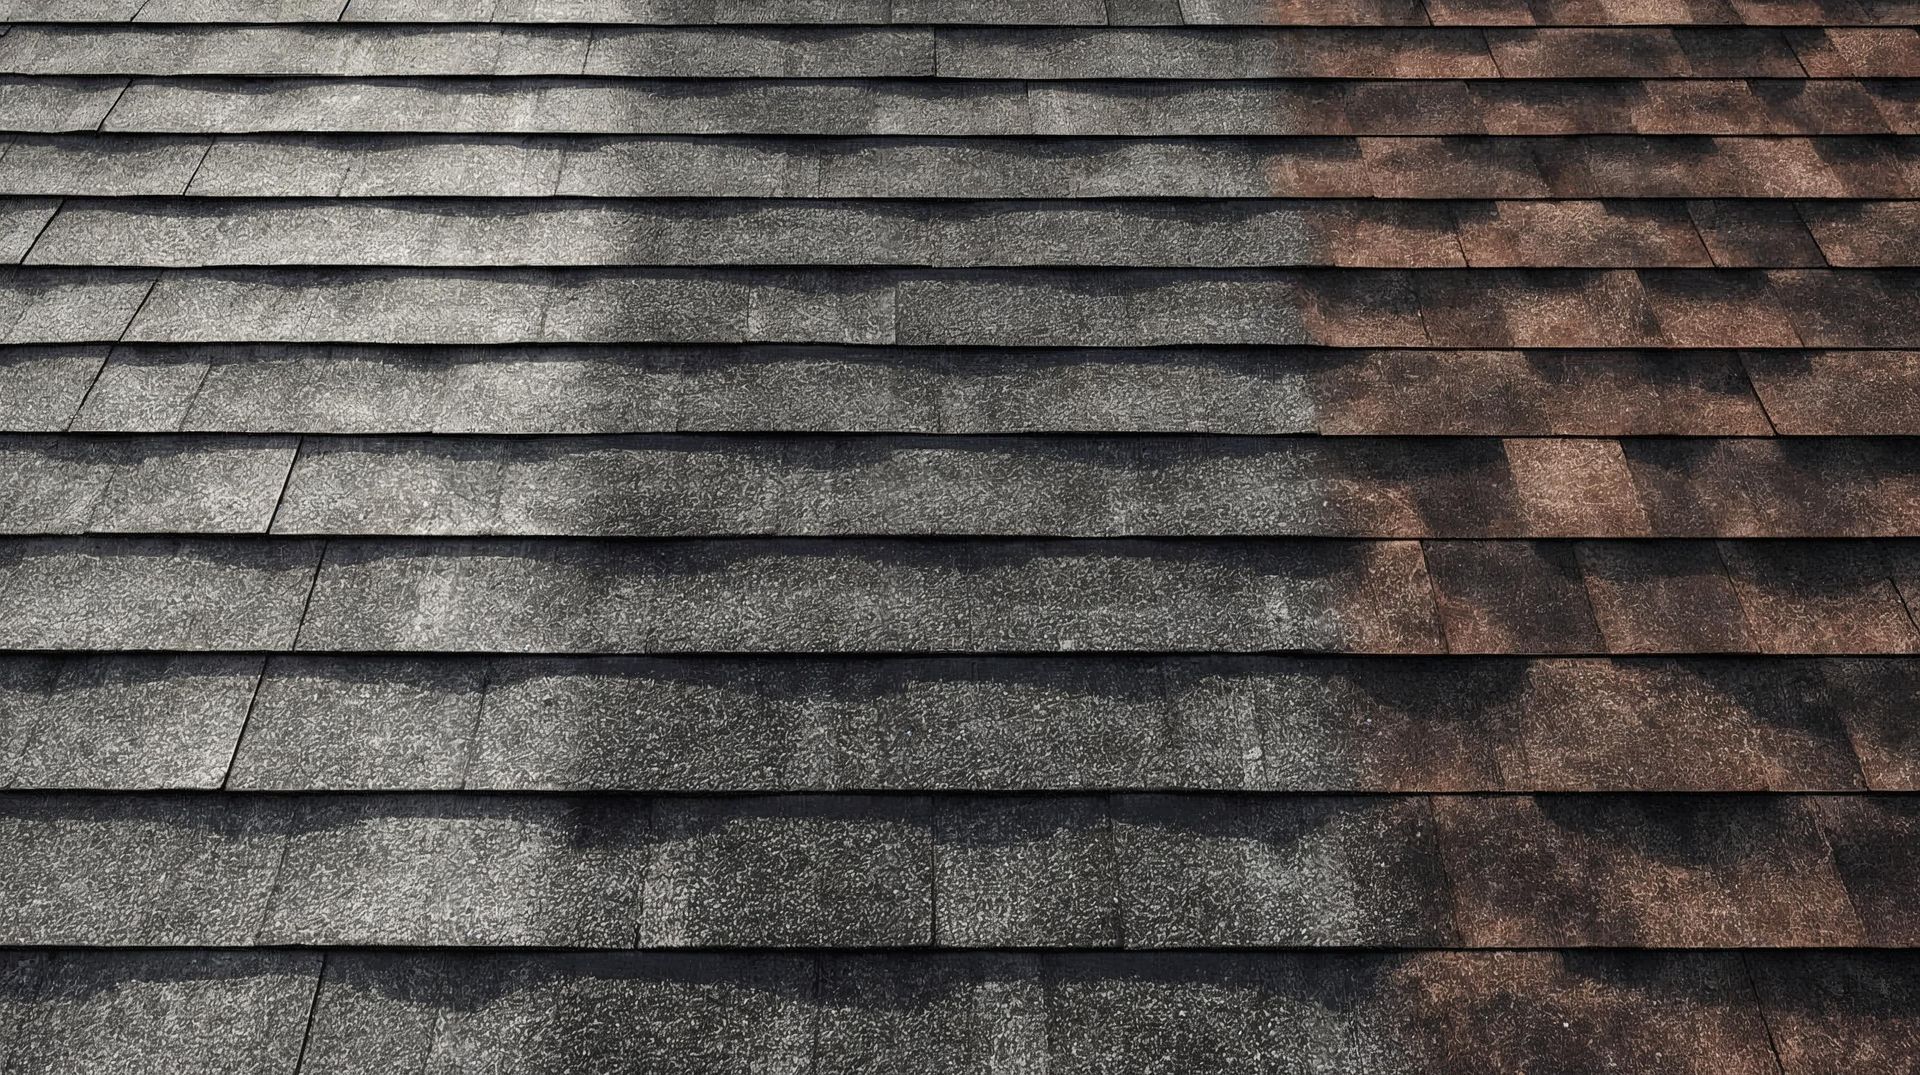
Asphalt shingles examination focuses on identifying cracked shingles, curled edges, granule loss, and missing shingles that compromise weather protection.
Using binoculars, systematically scan each roof section, looking for patchy areas where shingles appear different in color or texture.
Cracked shingles often indicate aging roofing materials or impact from storm damage, while curling suggests poor ventilation or natural weathering processes.
Shingle Damage Indicators:
- Missing shingles, leaving exposed underlayment or roof deck
- Cracked shingles with visible splits or fractures
- Curling edges indicating moisture or heat damage
- Granule accumulation in gutters suggests deterioration
- Discoloration patterns indicating water intrusion or mold growth
Gutters and Downspouts Condition Evaluation
Clogged gutters represent one of the most common causes of water damage and roof deterioration. Gutter inspection involves checking for proper drainage, identifying rust formation, examining separation from the roofline, and assessing water stains around foundation areas. Gutters should maintain a consistent slope toward downspouts without sagging areas that indicate structural stress or improper installation.
Gutter System Assessment:
- Clear debris removal and drainage flow testing
- Gutters are attached to the fascia boards
- Rust, corrosion, or separation identification
- Downspout positioning directs water away from the foundation
- Shingles granule accumulation indicates roof deterioration
Flashing Inspection Around Roof Penetrations
Roof penetrations around chimneys, vents, skylights, and solar panels require properly installed and maintained flashing to prevent water infiltration.
Examine metal flashing for gaps, cracks, rust formation, or loose sections that could allow moisture entry.
Ice and water barrier systems around roof penetrations should remain intact and properly sealed to maintain weather protection.
Roof Edge and Eave Condition Analysis
Roof edges and eaves provide critical protection against weather infiltration and structural damage.
Fascia boards should show no signs of damage, including wood rot, water stains, or pest intrusion evidence.
Soffit ventilation must remain unobstructed to ensure proper attic airflow and prevent trapped moisture that leads to mold growth and structural damage.
What Interior Signs Indicate Potential Roof Problems?
Interior assessment provides crucial evidence of roof damage that may not be visible from exterior inspection.
Attic examination and ceiling evaluation reveal water intrusion, ventilation problems, and early stages of deterioration before they become costly repairs requiring roof replacement.
Attic Space Inspection Techniques
Attic inspection using flashlights reveals critical information about roof condition and potential problems.
Look for daylight penetration through the roof deck, water stains on rafters, insulation moisture, and mold growth indicating chronic moisture issues.
Proper attic ventilation prevents ice dams from forming and reduces trapped moisture that compromises roofing materials.
Attic Inspection Checklist:
- Flashlight examination for daylight penetration
- Water stains or discoloration on the roof deck underside
- Mold or mildew evidence on rafters or insulation
- Insulation condition and moisture presence
- Ventilation system functionality and clearance
- Structural integrity of support beams and rafters
Ceiling and Wall Water Damage Recognition
Interior walls and ceiling examination identify active leaks and chronic moisture problems affecting the roof's condition.
Water stain patterns help distinguish between roof leaks and plumbing issues, while mold growth indicates ongoing moisture problems requiring immediate attention.
Seasonal versus chronic water damage recognition helps prioritize repairs and determine whether professional inspector evaluation is necessary.
Also Read: How Much Does It Cost to Replace a Roof?
Which Structural Elements Should You Monitor During Roof Inspection?
Structural integrity monitoring represents the most critical aspect of DIY roof inspection, as structural damage can pose immediate safety hazards requiring emergency professional roofing contractor intervention.
Understanding when sagging areas indicate serious problems helps homeowners make informed decisions about repair urgency and professional consultation timing.
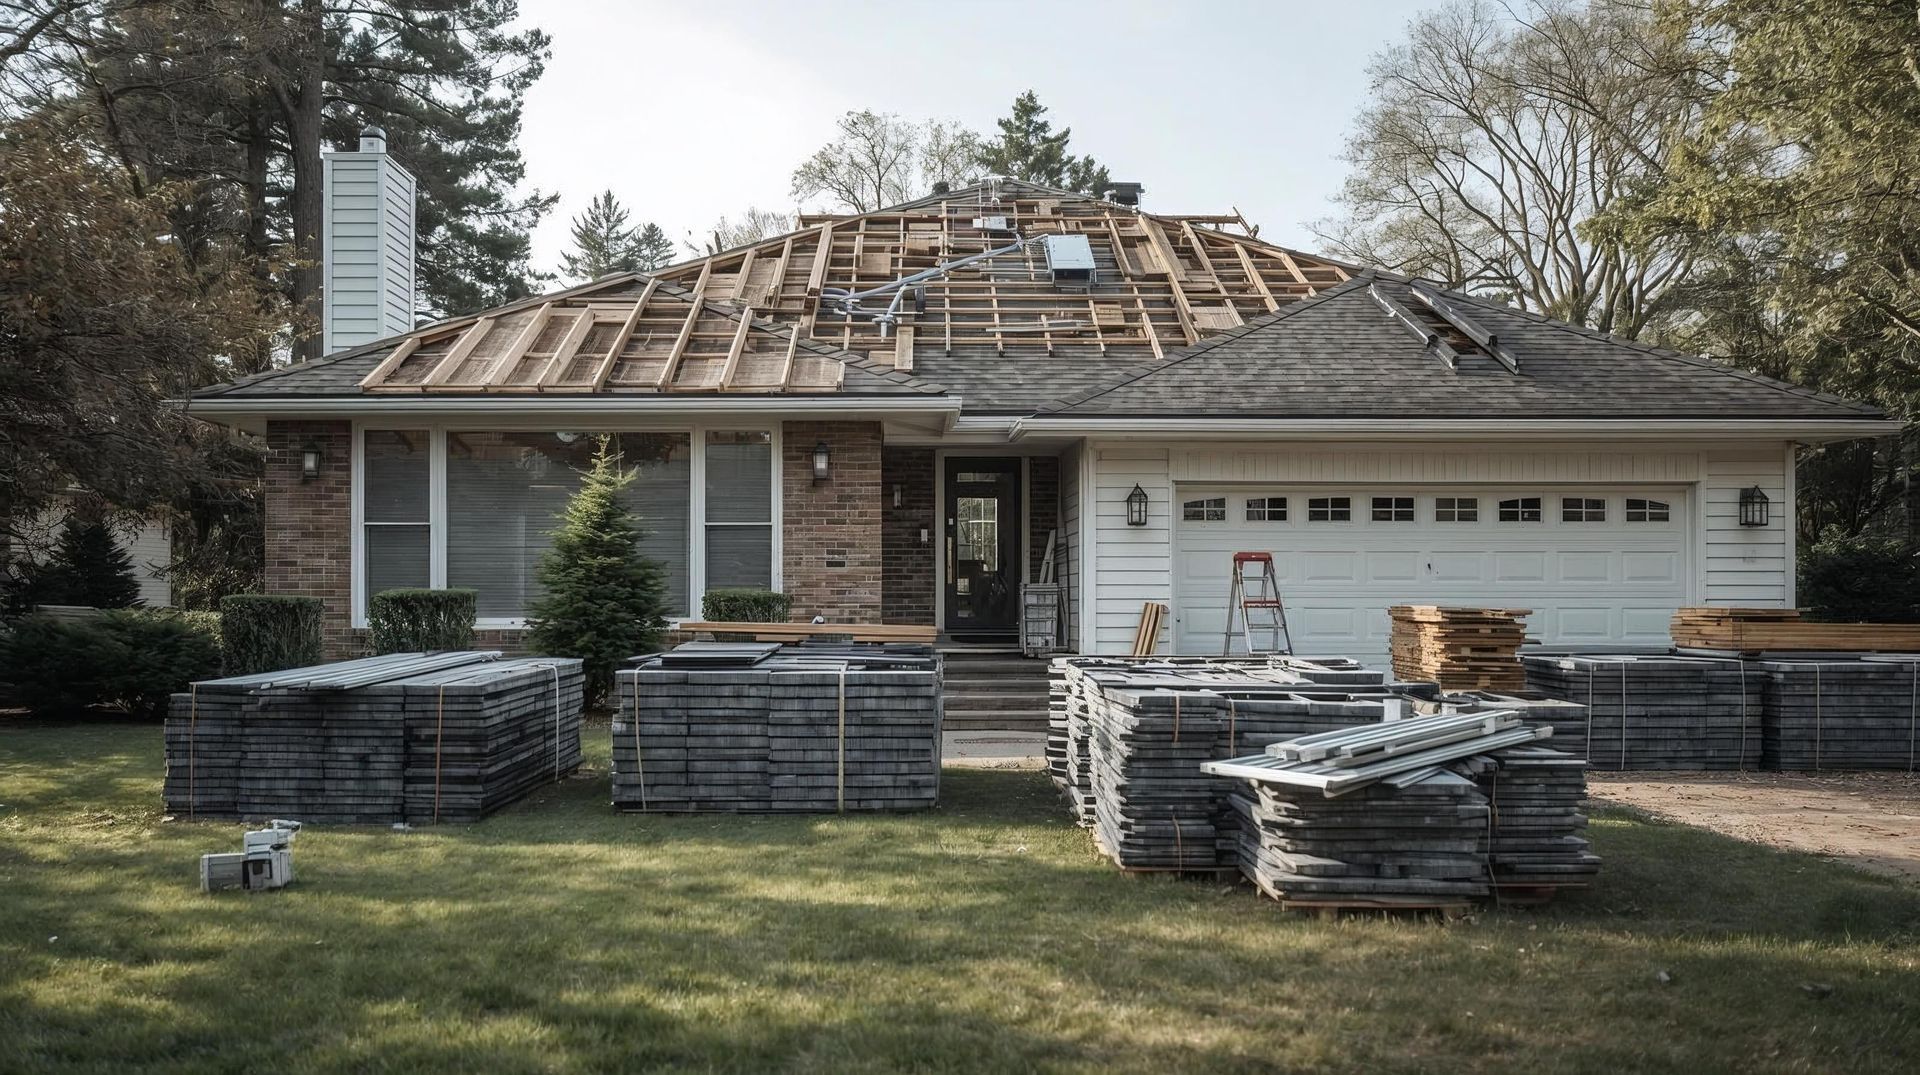
Roof Sagging and Deformation Identification
Sagging areas in roof lines indicate potential problems with load-bearing capacity or water damage affecting structural integrity.
Roof deck deformation, uneven surfaces, or visible dips require immediate professional roofer assessment.
Structural damage from storm damage, ice dams, or chronic moisture can compromise the entire roof's stability and pose safety risks to occupants.
Chimney and Roof Penetration Assessment
Chimney condition significantly impacts roof performance and water intrusion prevention.
Examine chimney crown integrity, cap condition, and roof penetrations sealing around the structure.
Vegetation growth or animal nesting around roof penetrations can indicate maintenance needs and potential problems with flashing or ventilation systems.
How Should You Document and Prioritize Your Roof Inspection Findings?
Effective documentation enables informed communication with roofing contractors and helps establish maintenance priorities based on urgency and total cost considerations.
Roof inspection checklist completion and photographic evidence support insurance claim documentation when storm damage or other covered events occur.
Creating Effective Inspection Records and Photo Documentation
Roof inspection checklist documentation includes dated photographs of all identified issues, detailed written descriptions of damage location and severity, and priority rankings based on safety concerns and repair costs.
Organize findings by roof section and damage type to facilitate professional roofing contractor consultations and repair planning.
Repair Prioritization and Professional Consultation Preparation
Repair prioritization focuses on immediate safety concerns, water intrusion prevention, and structural integrity preservation.
Emergency conditions requiring immediate professional intervention include active leaks, structural damage, extensive storm damage, or obvious signs of roof failure.
Recommend scheduling a professional roof inspection for complex issues exceeding DIY inspection capabilities.
What Long-Term Maintenance Schedule Should Follow Your DIY Inspection?
Regular maintenance scheduling based on annual roof inspection prevents minor issues from becoming costly repairs and extends the roof's lifespan significantly.
Roof maintenance includes seasonal assessments, preventive measures, and proactive repair scheduling that maintains good repair conditions throughout the year.
Seasonal Inspection Timing and Frequency Recommendations
Annual roof inspection timing should include spring assessment for winter damage, summer evaluation of roofing materials condition, fall preparation for severe weather, and post-storm damage assessment after high winds or severe weather events.
Seasonal inspection scheduling helps identify ice dam damage, storm damage, and wear patterns affecting roof performance.
Simple Preventive Maintenance Tasks for Homeowners
DIY roof maintenance includes gutter cleaning, vegetation management around roof edges, and basic upkeep tasks supporting roof longevity.
Regular maintenance activities like debris removal, gutter clearing, and attic ventilation maintenance help maintain well-maintained roof conditions and prevent potential problems from developing.
Also Read: What’s the Cost of a New Roof Per Square Foot?
When Should You Skip DIY Inspection and Call Professionals Immediately?
Certain conditions exceed DIY inspections' capabilities and require immediate professional evaluation for safety and insurance purposes.
Emergencies, extensive storm damage, structural concerns, and insurance claim requirements mandate professional roof inspection rather than homeowner assessment.
Severe Weather Damage and Emergency Situations
Post-storm conditions, including visible damage from high winds, ice dam formation, or extensive missing shingles, require professional inspector assessment.
Emergency structural concerns, active leaks threatening interior spaces, or obvious signs of roof failure demand immediate professional roofing contractor intervention, regardless of roof inspection cost considerations.
Insurance Claims and Professional Documentation Requirements
Insurance claim documentation requires professional roof inspection in most cases, as insurance companies typically require certified assessments for coverage determination.
Professional inspector evaluation provides necessary documentation standards, damage assessment expertise, and repair recommendations meeting insurance requirements for claim processing and coverage approval.
Conclusion
DIY roof inspection empowers homeowners to maintain the roof's condition proactively while understanding when professional expertise becomes necessary.
The eight essential inspection points covered in this guide enable effective assessment of roofing materials, structural integrity, and potential problems before they escalate into costly repairs.
Combining regular DIY inspections with periodic professional roof inspections creates comprehensive roof maintenance strategies that protect both property value and occupant safety.
Use our advanced AI calculator to instantly estimate potential repair costs based on your DIY roof inspection findings.
How often should I perform a DIY roof inspection?
Conduct DIY roof inspection twice yearly - spring and fall - plus after severe weather events. Annual roof inspection by a professional complements homeowner assessments.
What equipment do I need for a DIY roof inspection?
Essential equipment includes quality binoculars, a flashlight, a camera, and a roof inspection checklist. Avoid climbing on the roof for safety reasons.
Can I identify all roof problems from ground level?
Ground-level inspection reveals the most visible damage and obvious signs of problems. Professional inspector access identifies subtle issues DIY inspections might easily miss.
When should I call a professional roofer immediately?
Contact a professional roofer immediately for sagging areas, active leaks, storm damage, or any structural concerns affecting safety.
How much does a professional roof inspection cost?
Roof inspection cost typically ranges $200-$600, representing a minimal investment compared to costly repairs from undetected problems.